If you’ve been following my Instagram Stories over the past 6 months, you’ll know that Oli and I recently undertook a complete bathroom renovation. Make that two bathroom renovations, embarked upon simultaneously.
Below I’m sharing the ins and outs of our bathroom renovation experience. From why we decided to embark on this project, through to our inspiration, finding suppliers + builders and everythinggg in between.
I hope that this post is helpful if you too are considering taking on a bathrom renovation. Or at least, that it’s a fun room tour! I LOVE a good room tour!
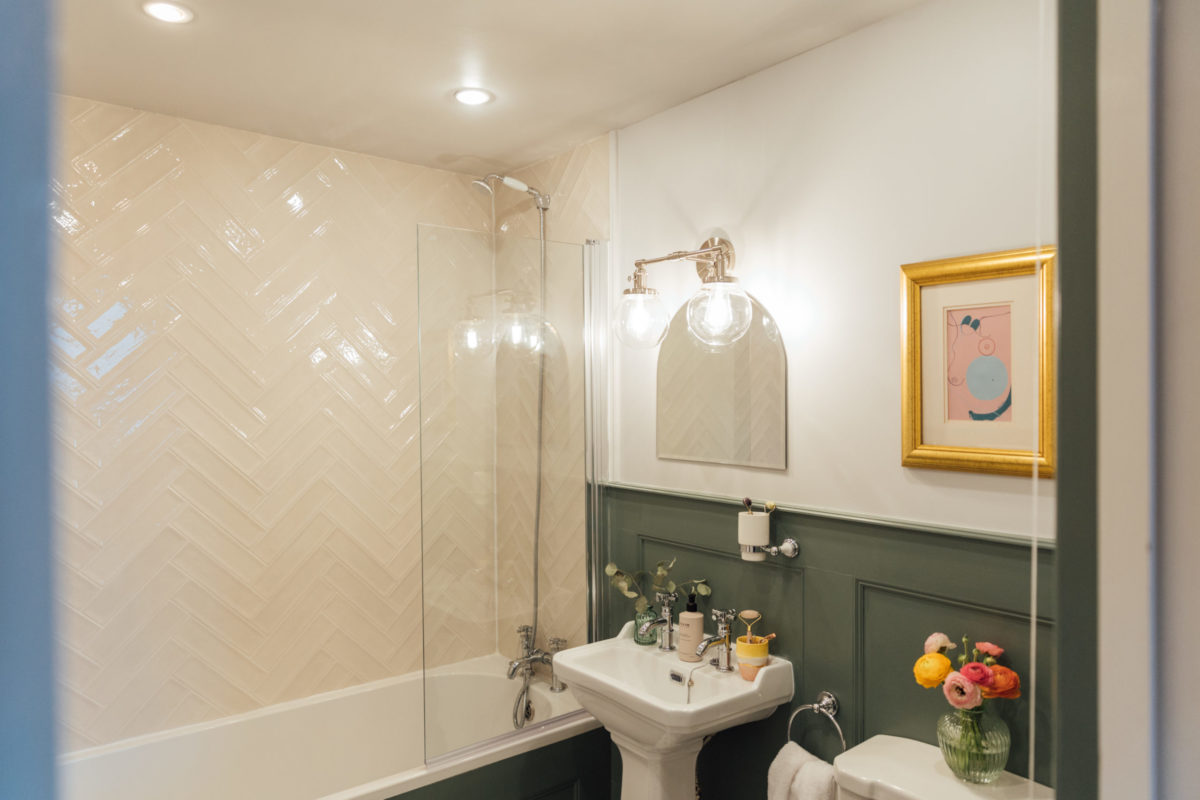
Our Finished En Suite Bathroom Renovation
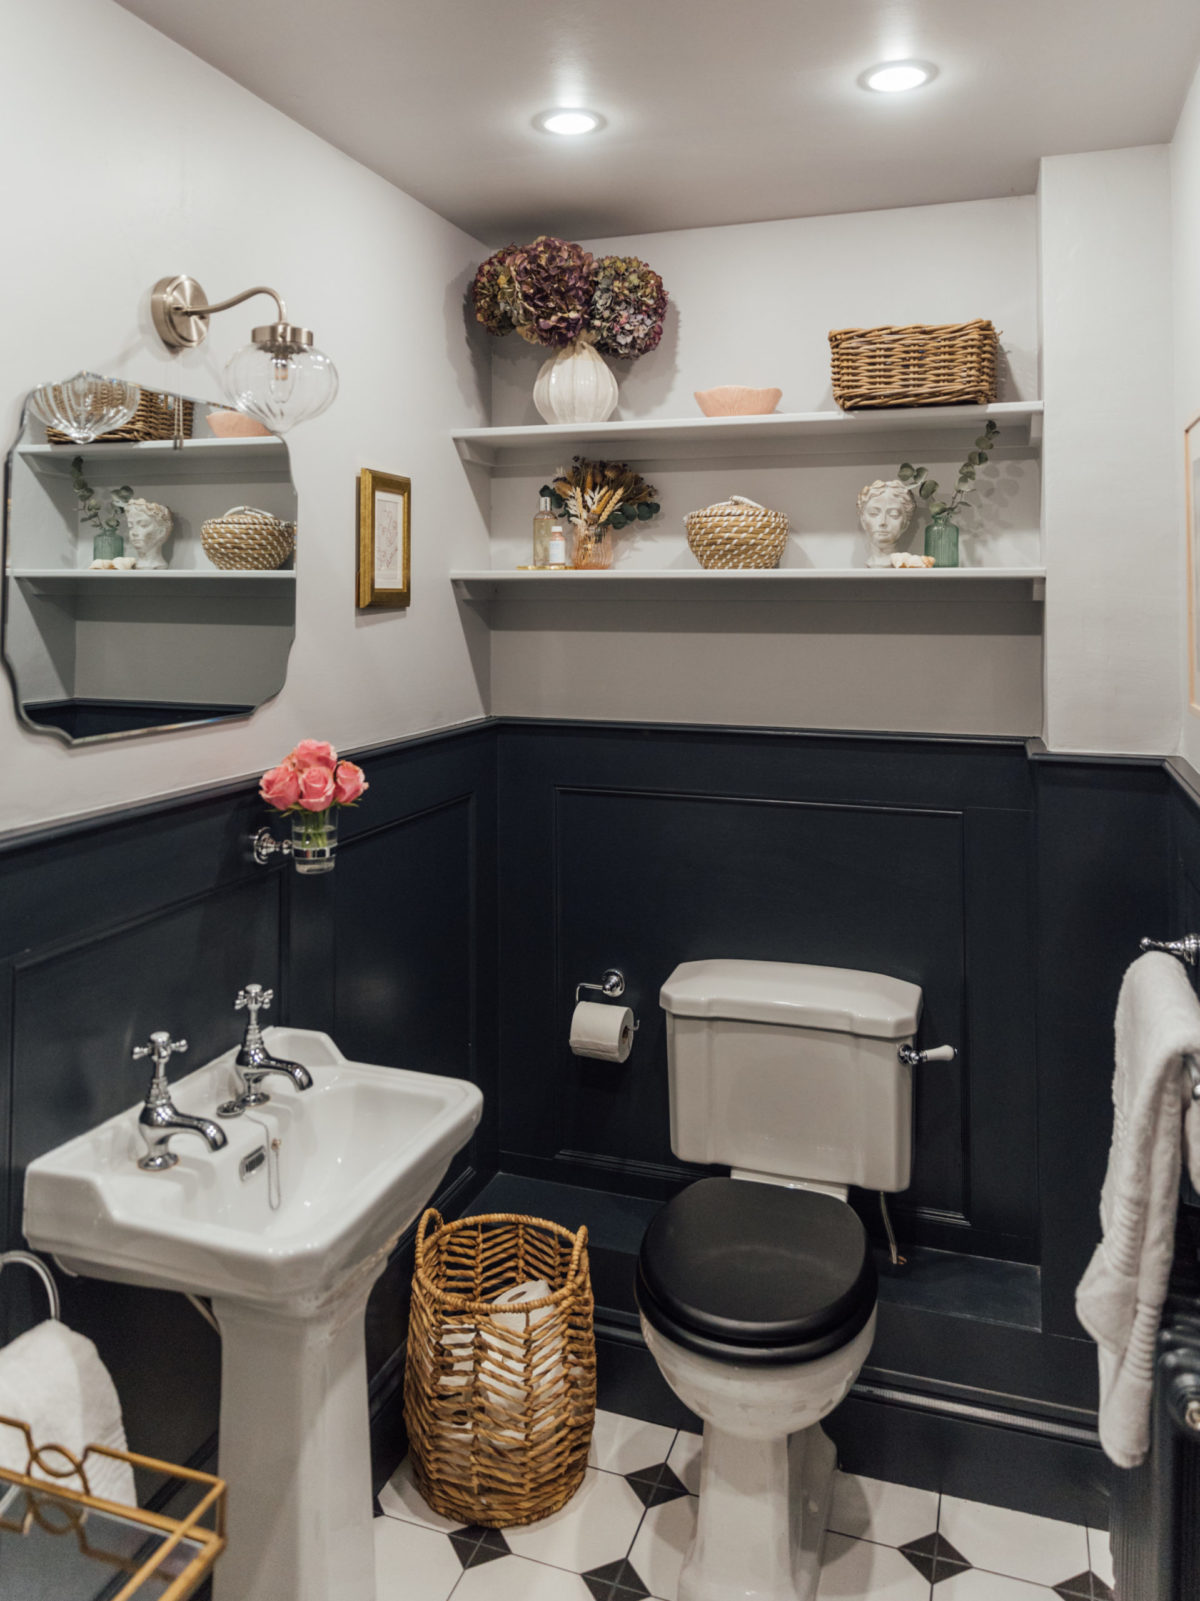
Our Finished ‘Shower Room’ Bathroom Renovation
Small Bathroom Renovation: Our Thinking + Inspiration
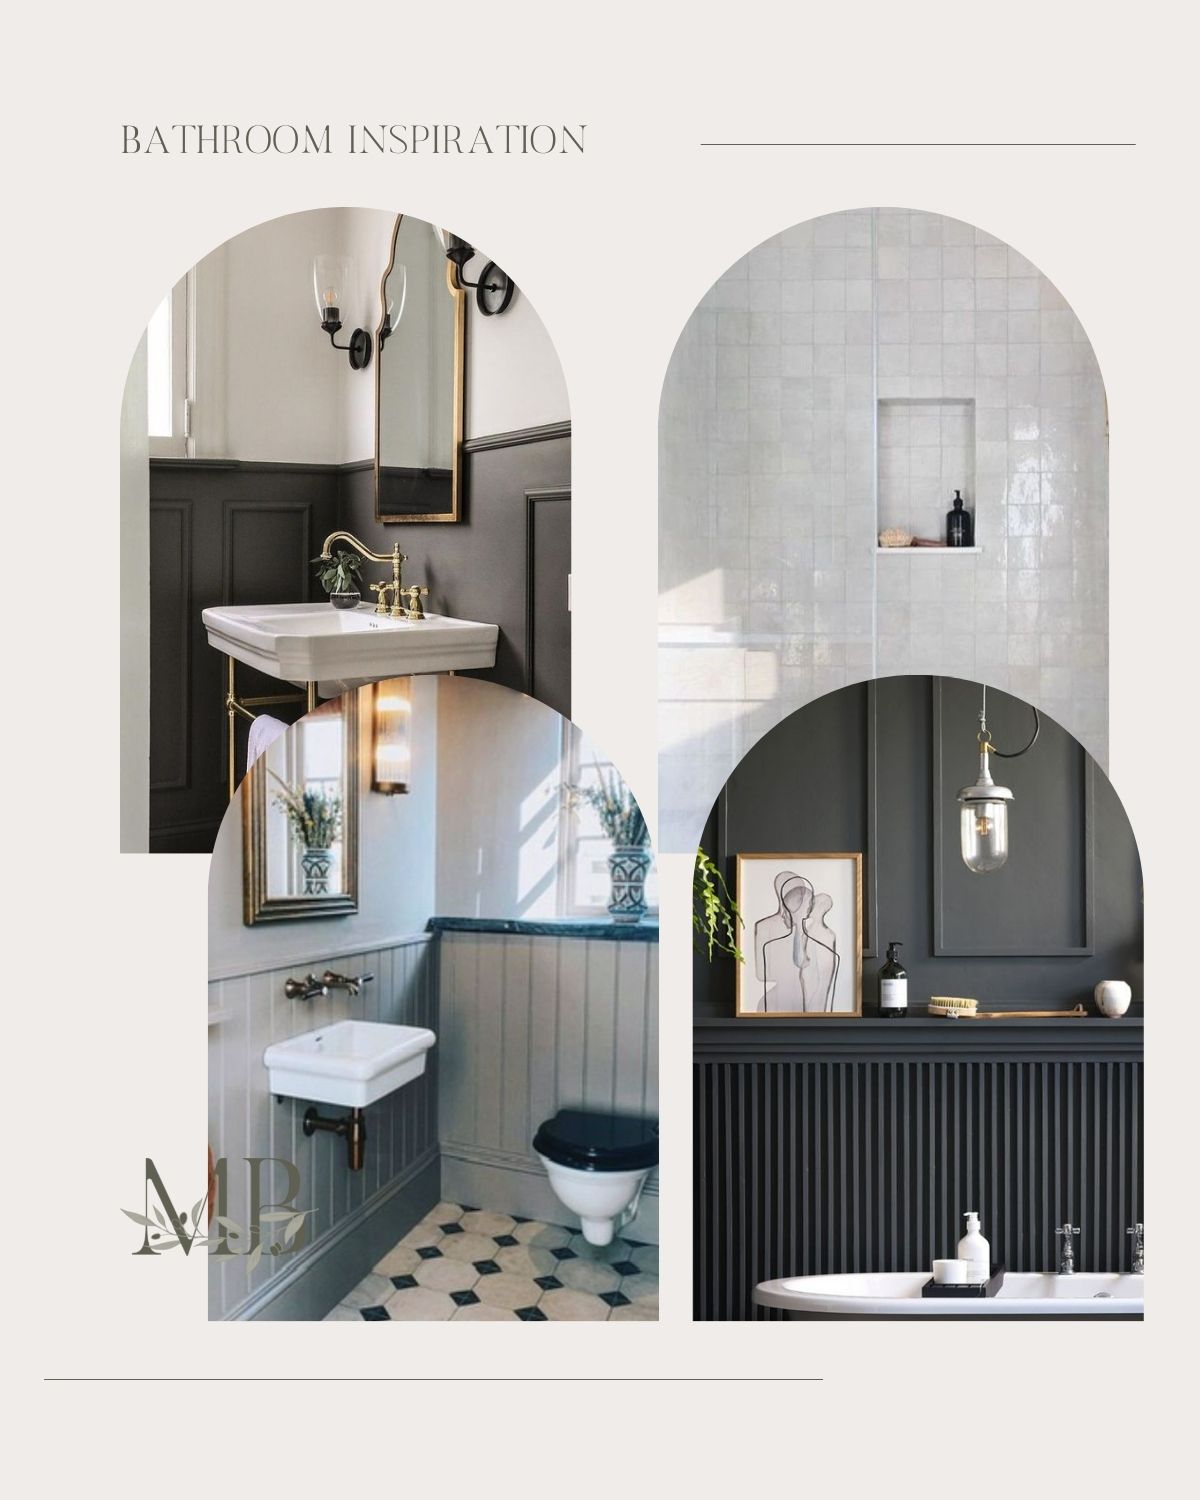
After four years of living in our flat, we decided to bite the bullet and begin plans for renovating both bathrooms. We decided to do both bathrooms at the same time to streamline the process. All in all the work took about a month, including building work, decoration and snagging.
As with all of the updates we’ve made to the flat, we wanted the bathroom renovations to feel sympathetic to the Georgian era of the property. This meant: traditional features, a smart classic colour palette and decor which feels elegant + timeless.
Below are a few ‘before’ snaps of both bathrooms to give you a sense of what we were working with. Both bathrooms were relatively neutral, so were OK to live with until we were ready to do a full renovation. The only thing we changed in the bathrooms when we first moved in was the flooring . . . from carpet, to lino. This was a cheap upgrade which made a big difference in the four years prior to the complete bathroom upgrade.


Finding Our Builder
Finding a builder who shares your vision, is available and willing to take on your project can feel like a talllll order.
We were introduced to our builder through a friend. Recommendations have always been our #1 way of finding tradespeople we trust, and on a whole that’s how we’ve come to develop a network of decorators, electricians, plumbers etc that we really like working with. If it doesn’t work out with someone for whatever reason, then we don’t give them any further work. But for the most part we’ve worked with fantastic tradespeople, including our builder for this project.
If you don’t have a personal recommendation, you can try asking around, using your local Facebook forums, Checkatrade or Google. Take the time to have a thorough consultation with any builder you’re considering and ask for examples of previous work. I’ve even heard of previous clients opening their homes up to prospective clients to have a look around! That can be so helpful if you’re considering a similar project.
Ultimately the quality of a builder’s work is the #1 priority, but I also think it’s important to have a good working relationship. Opening up your home can feel very exposing, especially if – like me – you work from home too. For the most part I worked from cafes for the duration of the bathroom renovations, both to avoid the disruption and also to have running water all day! Haha! More on that below . . .
This post on ‘How to Hire a Contractor‘ on Chris Loves Julia shares a few more tips.
The Practicalities Of Renovating Bathrooms
Let’s get into it! What are the practicalities of life you need to consider when renovating a bathroom?
Firstly, if you’re like me and have 341036031 products in your bathroom, don’t underestimate how much stuff you’ll have to shift into another room whilst the work is going on. I condensed our bathroom must-haves – toothbrushes, toothpaste, shower gel, face wash etc – into travel bags, and put everything else into storage bins or similar throughout the duration of the building work. Having a travel bag helped SO much, since we had access to everything we really needed, and it could come with us wherever we went.
Then, in terms of washing, we used our gym showers. Yes it was faff for a few weeks, traipsing into the gym, and showering there, but we also felt VERY lucky to live close to our gym so the distance wasn’t too far. Plus at the time our gym showers were a million times nicer than our situation at home!
As for the loo?! The #1 question I got on Instagram haha! So, as we were renovating two bathrooms simultaneously, we were able to have one working toilet plumbed in each day. I did ask our builder what would happen if there was only one toilet in the home, and he said that he’d always leave a toilet connected. At the point where he needed to change the toilet over for a new one, he’d simply organise a time with the homeowner when they knew that they wouldn’t have access for 30 mins or so. I don’t know if this is standard procedure for builders, but it worked really well for us. The other option is to hire a portaloo for the duration of your building work, but thankfully we didn’t need to do that.
In terms of dust, debris and mess, our builder was super tidy which was a HUGE plus. Mostly the dust wasn’t an issue, but at one point things did get dusty and there wasn’t much we could do other than clear up afterwards. Then when it came to clearing debris, we organised for an independent rubbish-collecting company to come and collect all of the old bathroom bits, rubbish etc. We found that this was more cost-effective and convenient than hiring a skip. We needed two collections, one mid-way through the job, and one at the end.
Where We Bought All Of Our Bathroom Bits From
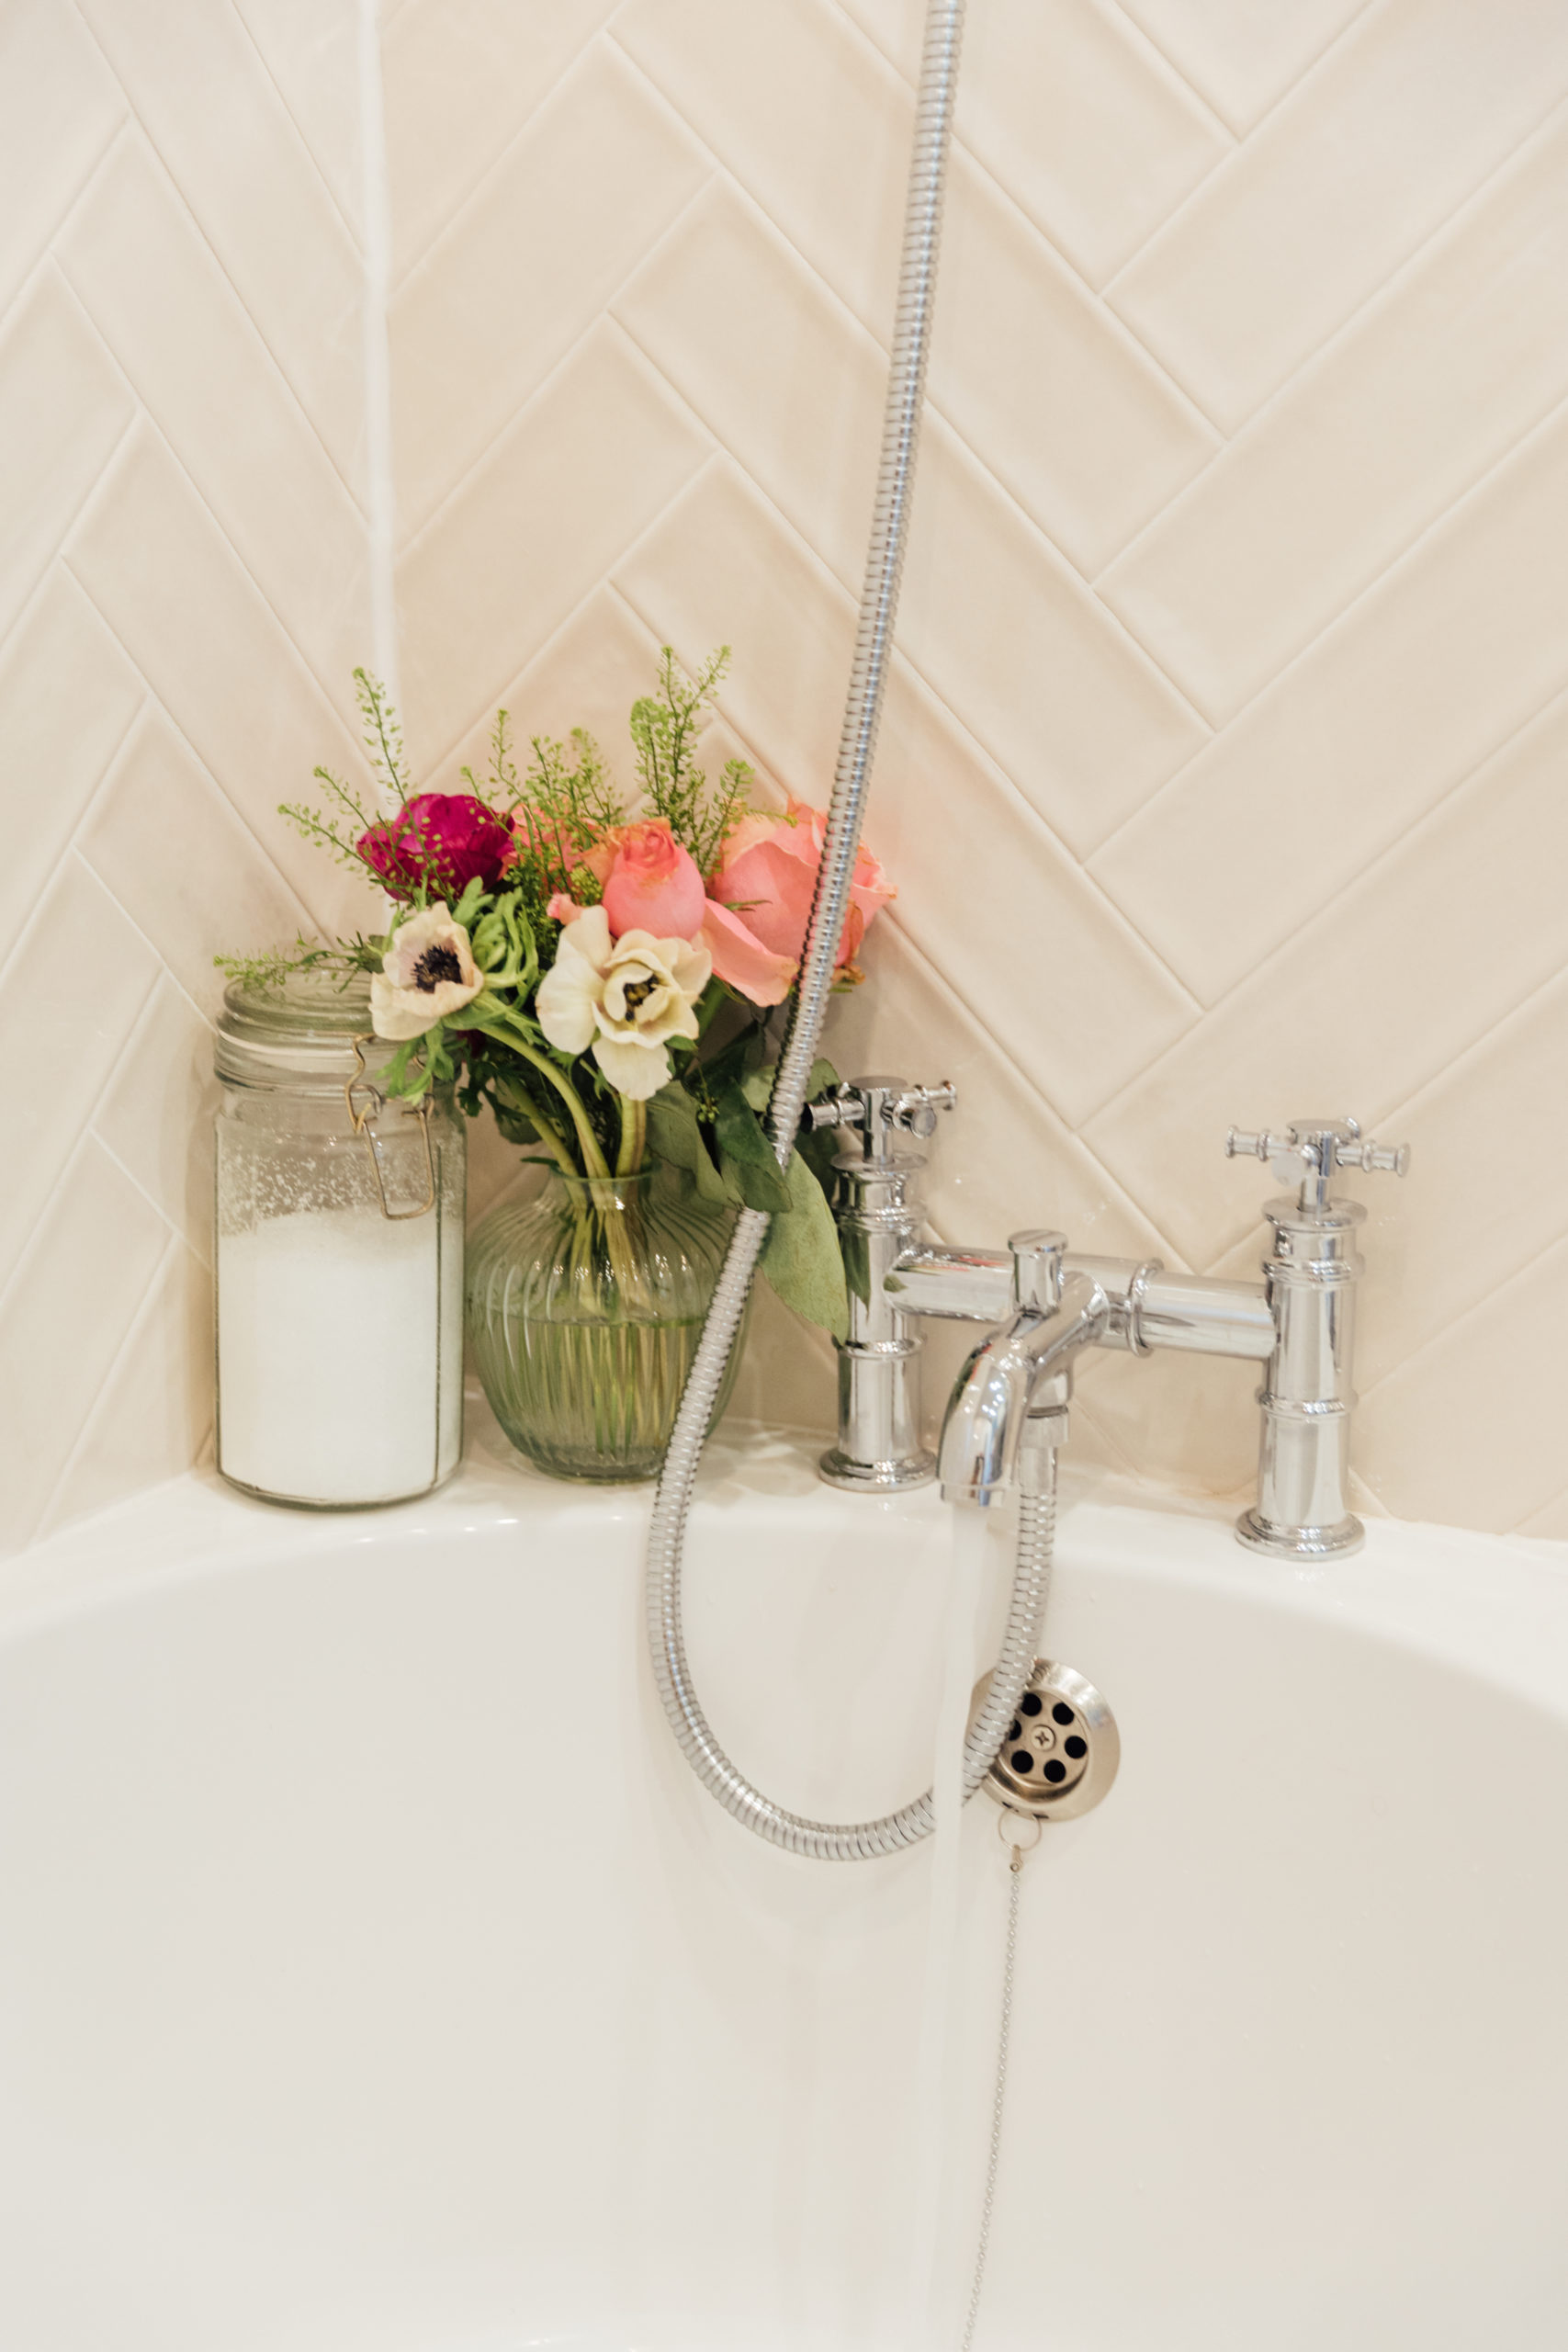
We did a LOT of research ahead of embarking on our bathroom renovations, since we wanted to go for quality products, but were still working to a budget.
Ultimately we found that a large-scale bathroom company was the best option for 90% of the items! We used a company local to us in Winchester called Easy Bathrooms and they were amazing. We bought our full bathroom suite and tiles through them, and would highly recommend them! The team were super friendly, helpful and assisted us with everything. There were a few additional items, like our shower door for the shower room, that we bought separately online because the dimensions were not standard, but other than that Easy Bathrooms covered the majority of our needs.
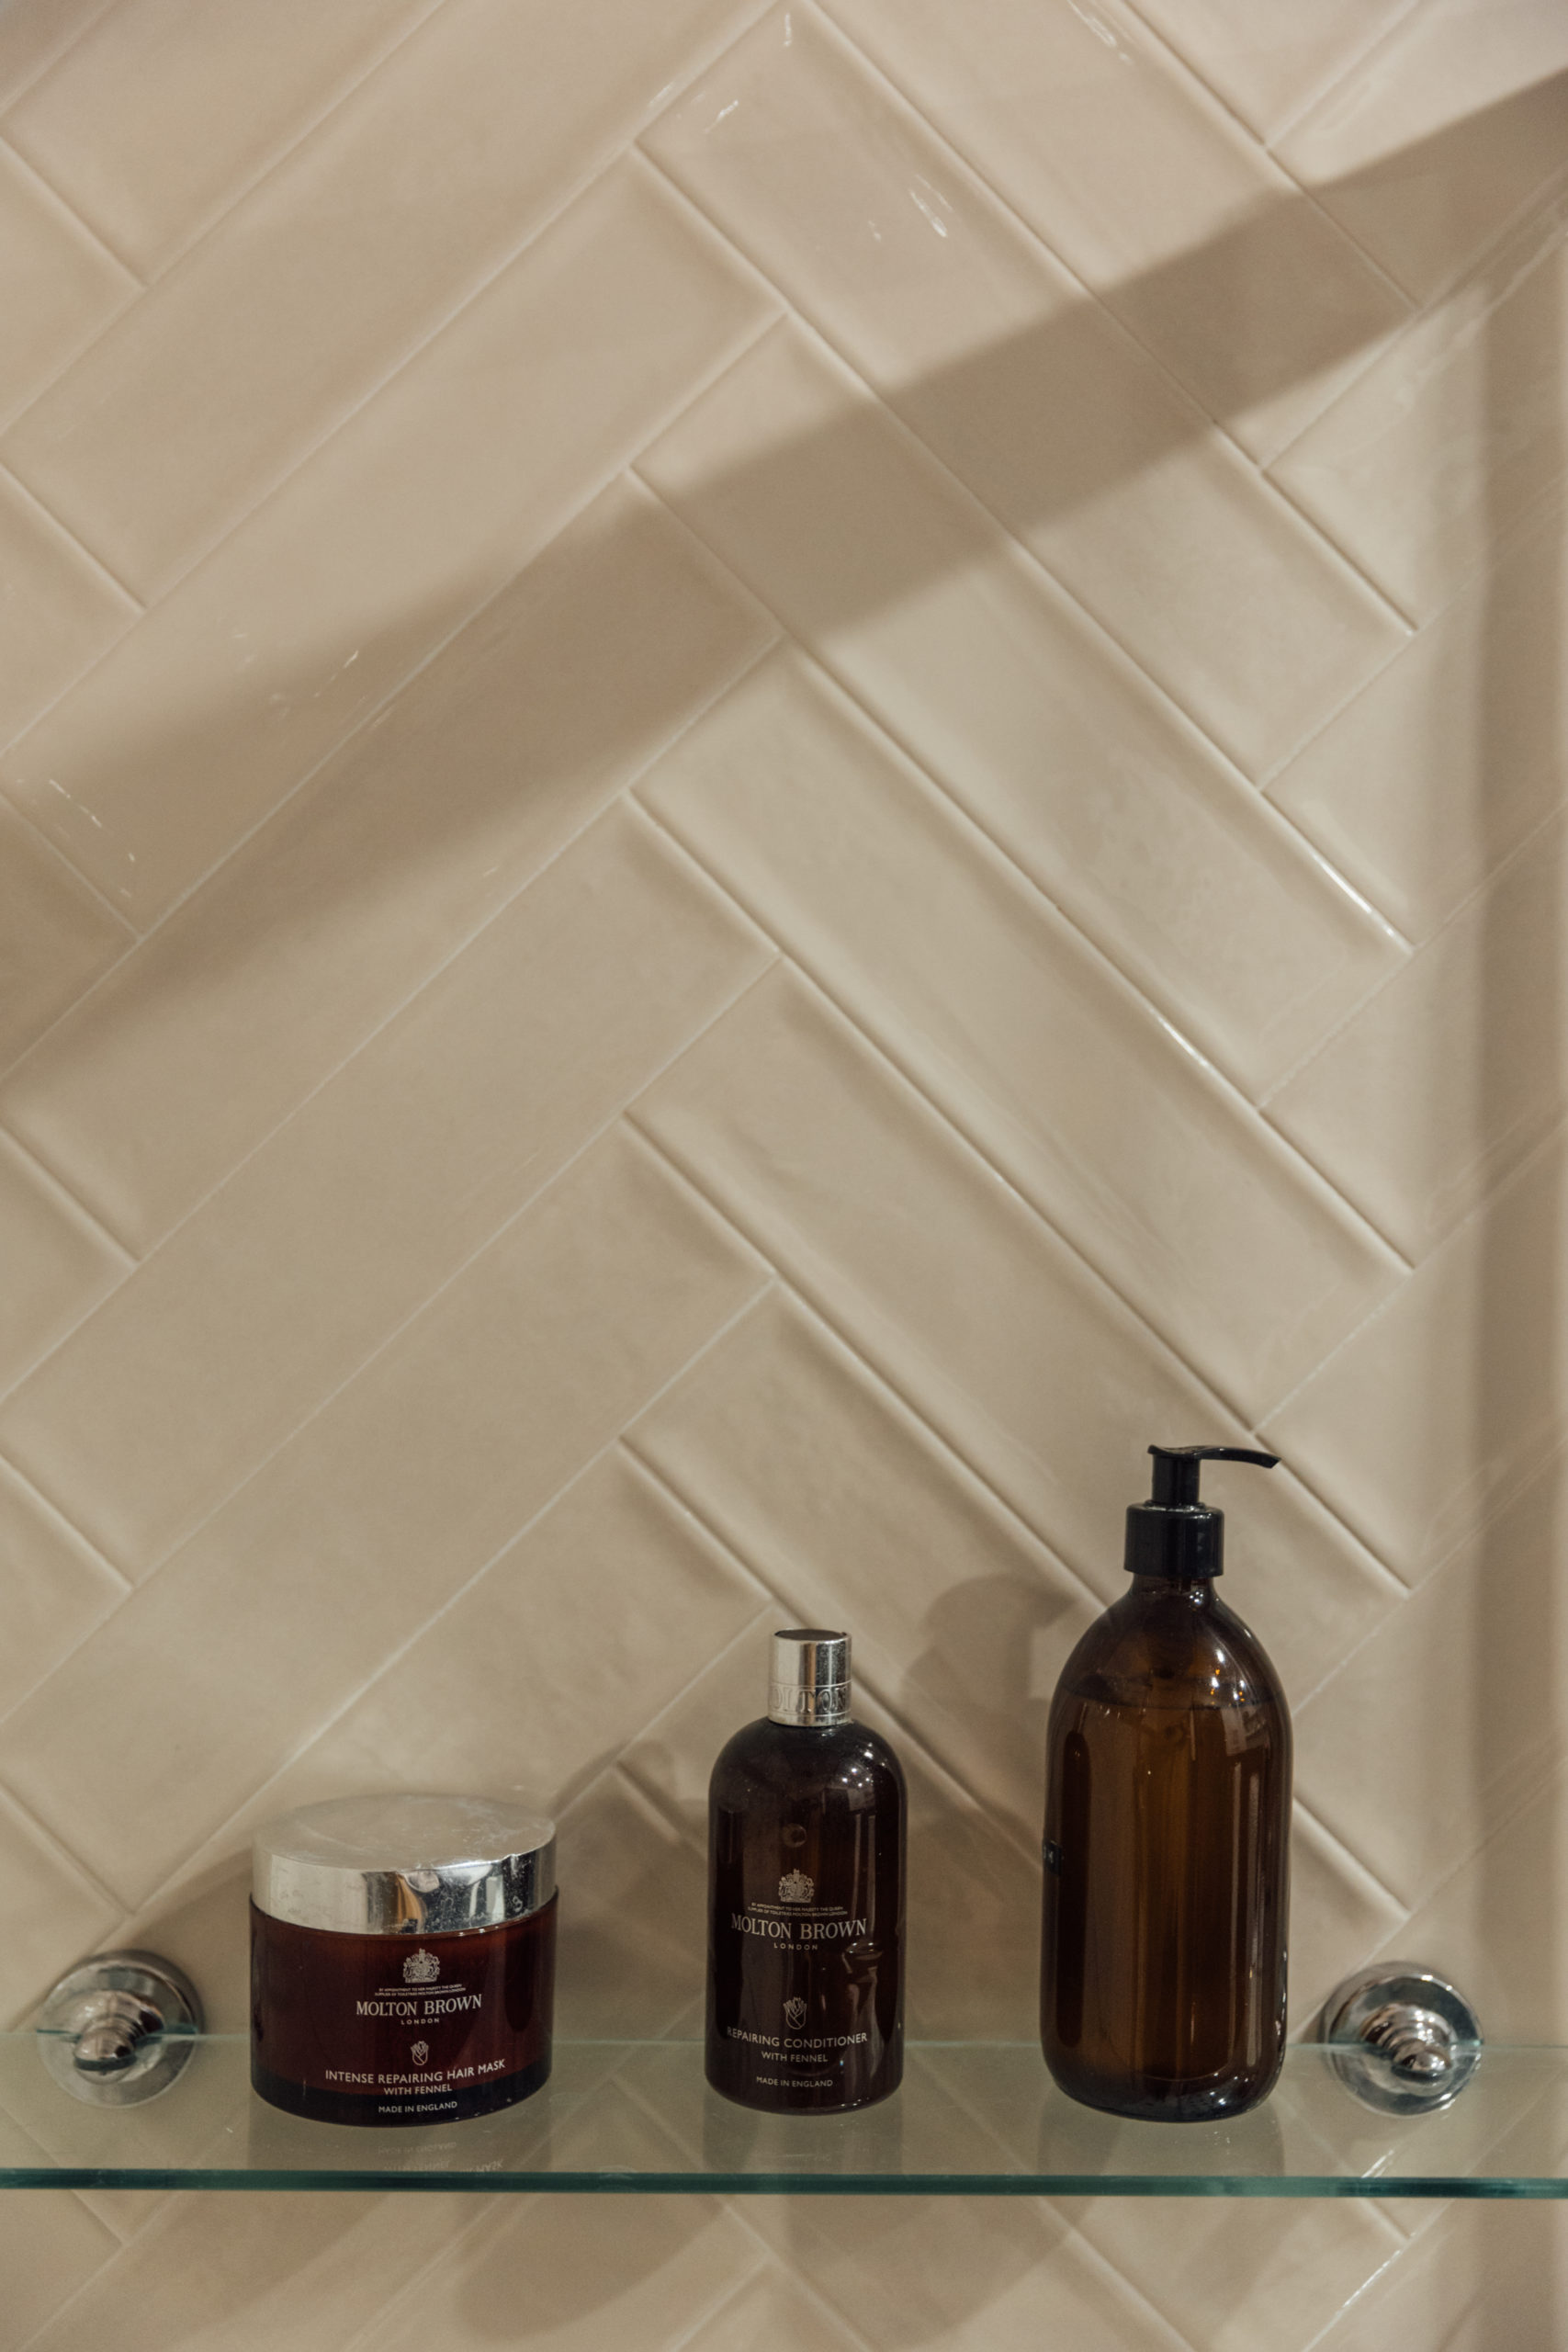
The tiling is one of my favourite elements in both of the bathrooms, I am obsesssssed with the herringbone design.
One thing to note: laying tiles in a herringbone pattern does incur some wastage, so be sure to add some extra boxes to your order if you’re planning to go down this route. As for the floor tiles, we decided on the black and white design before almost anything else! It’s classic and inkeeping with the traditional feel we wanted for these rooms.
Additional bits and bobs, like toilet seats, tooth brush cups, toilet roll holders etc were bought from B&Q.
Panelling
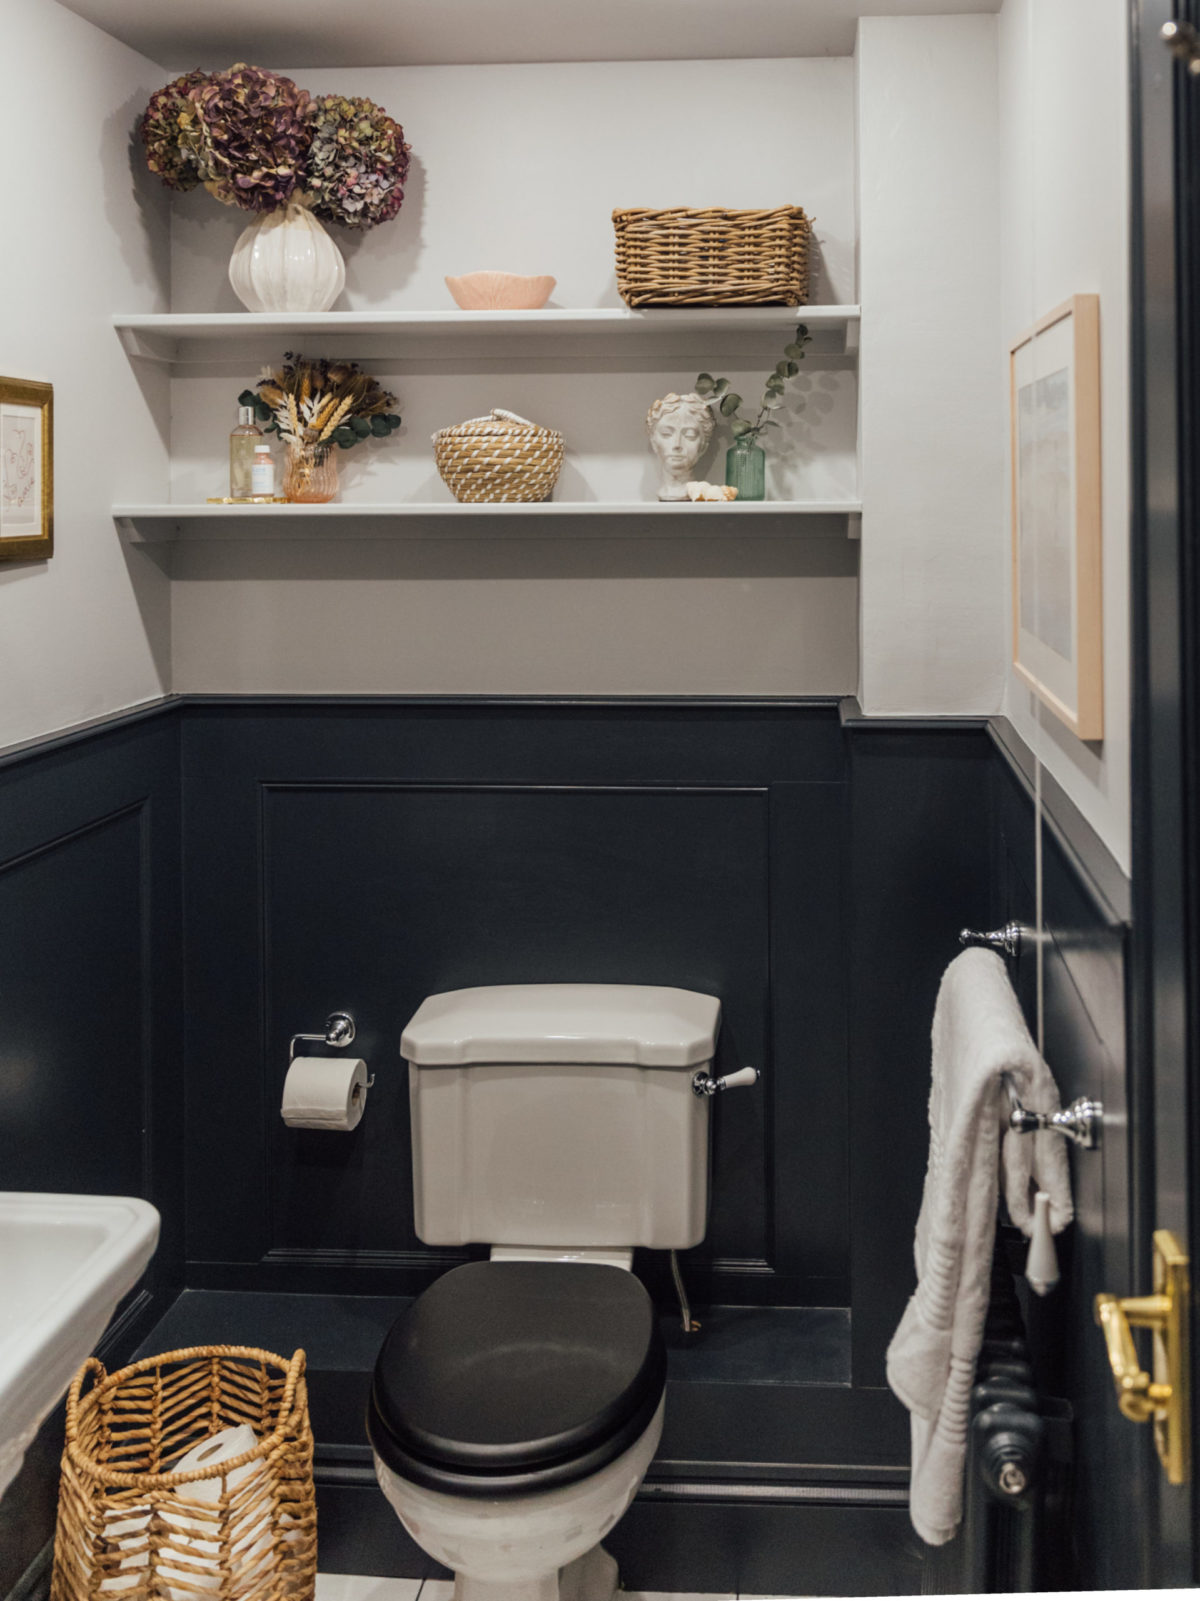
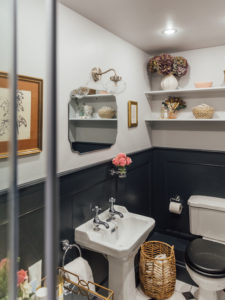
As you can see in our ‘before’ photos, both bathrooms previously had tiling half way up the walls, and throughout the entirety of the bathing areas. We decided to remove all of the tiling, and instead instal panelling in both rooms, keeping the tiling for the bathing areas only. This felt more refined and hotel-bathroom-esque which was the vibe we were going for.
I LOVE the panelling so much, and am so so happy we decided to instal this feature!
I hadn’t appreciated prior to installing our panelling how many variations on panelling there are! But our builder advised that we go for quite an intricate type which is more traditional and inkeeping with the period of our property. It was a bit more labour intensive, and cost more overall, than say a simple ‘grid’ would have been, but I am so happy with the result. The panelling looks like it’s always been there!
Bathroom Paint Colours
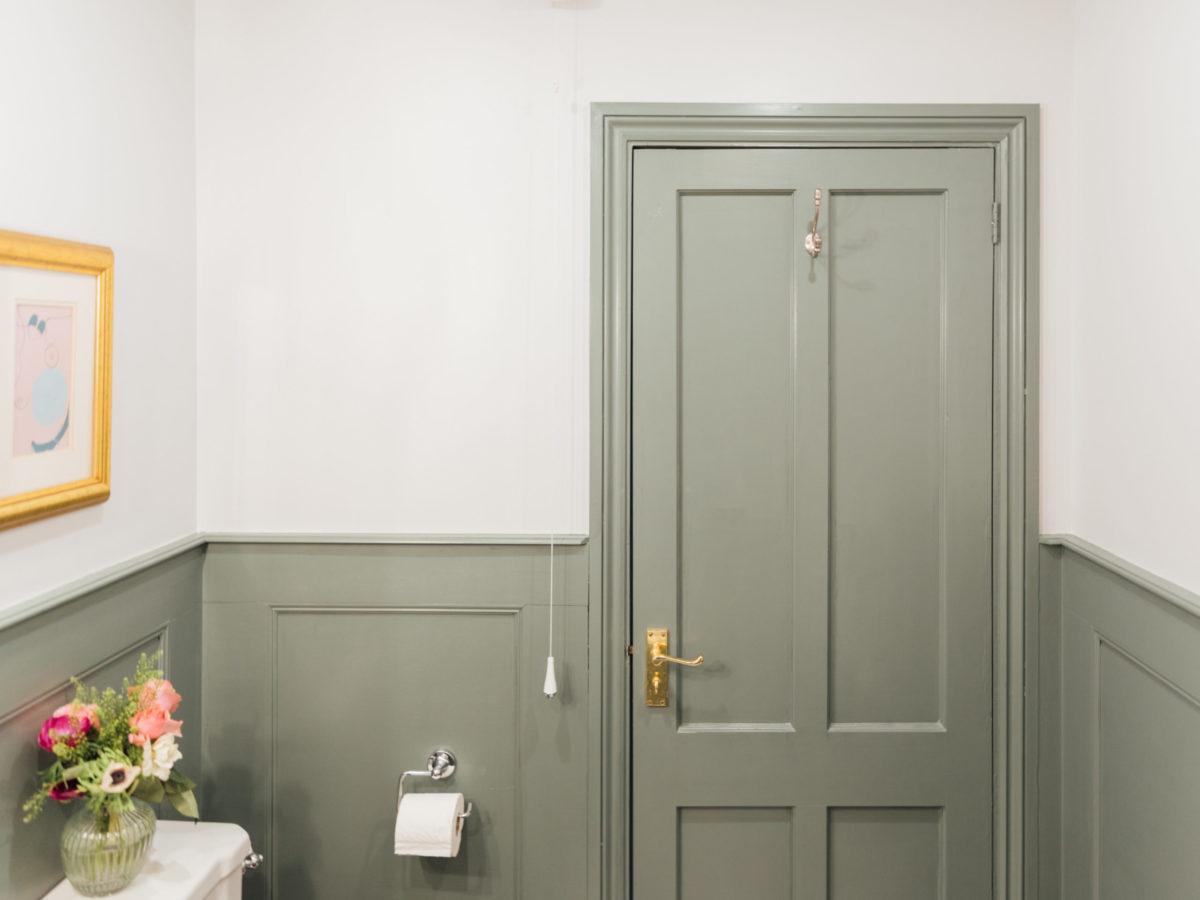
Choosing paint colours for the bathrooms was FUN! The last time we chose a paint colour for anything was for our bar area, but that feels like a long time ago now! We worked with Farrow & Ball again to hone in on colours which would work well for these small intimate spaces.
Here’s a breakdown of paint colours in each room:
Shower Room
Upper wall and ceiling: Farrow & Ball Dimpse
Panelling and door: Farrow & Ball Railings
En Suite
Upper wall and ceiling: Farrow & Ball Dimpse
Panelling and door: Farrow & Ball Green Smoke
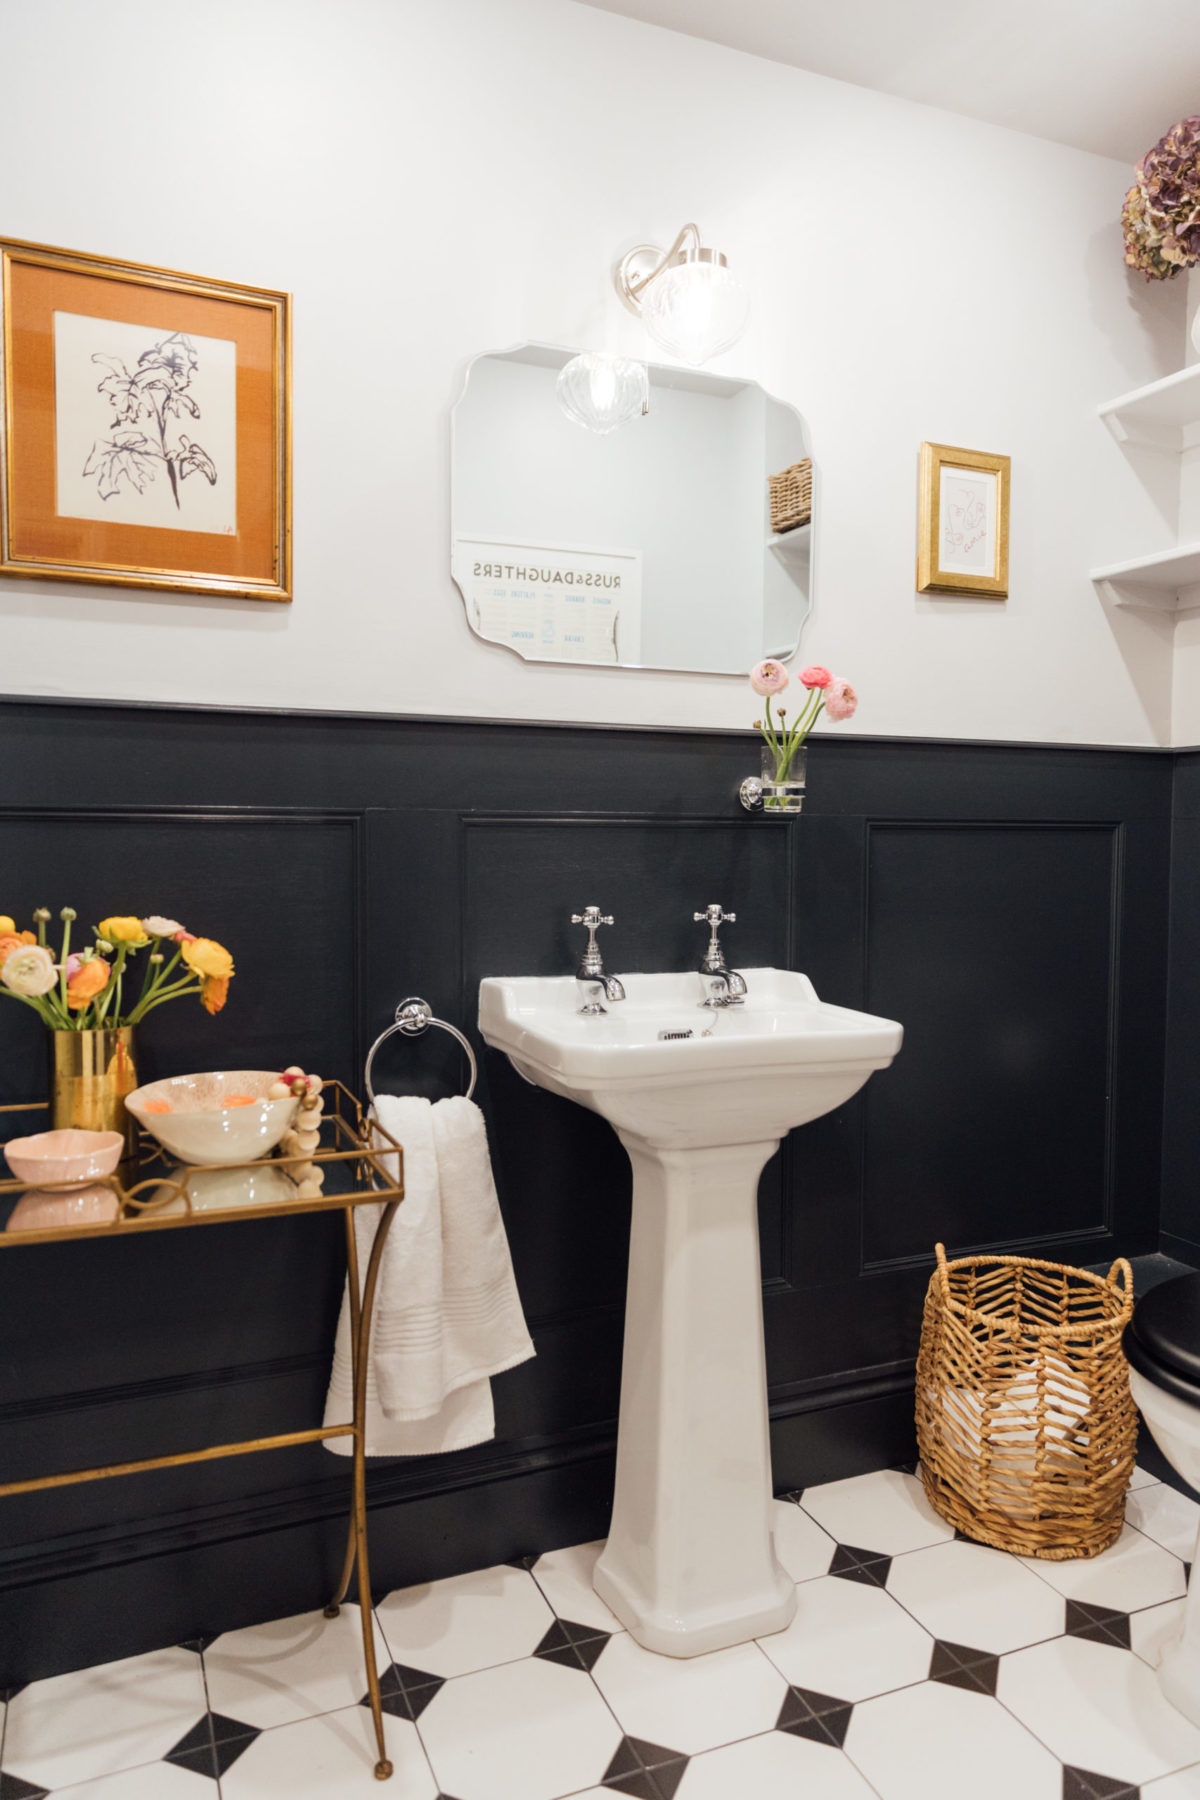 Since the rest of our flat is also painted in Farrow & Ball colours, we carried through one of our favourite neutrals – Dimpse – into both bathrooms for the upper wall areas and ceilings. We wanted there to be a good flow from the entranceway and bedroom into the shower room and en suite respectively. Then when it came to the panelling we knew that we wanted to go with rich sumptuous colours. We’d used Railings on our front door, so knew that we liked it, and Green Smoke is a colour I’ve admired from afar for ages, and was sooo excited to have an excuse to use it in our home! Ultimately I would love to have a kitchen painted in Green Smoke, it’s one of my all-time favourite hues.
We worked with a decorator to paint both bathrooms. Whilst they are relatively small spaces, painting just isn’t something that either Oli or I feel confident in, and working with a professional made a huge difference in terms of the finish. We opted to paint the door frame and door in both bathrooms the same colour as the panelling to give a seamless finish.
Lighting + Mirrors
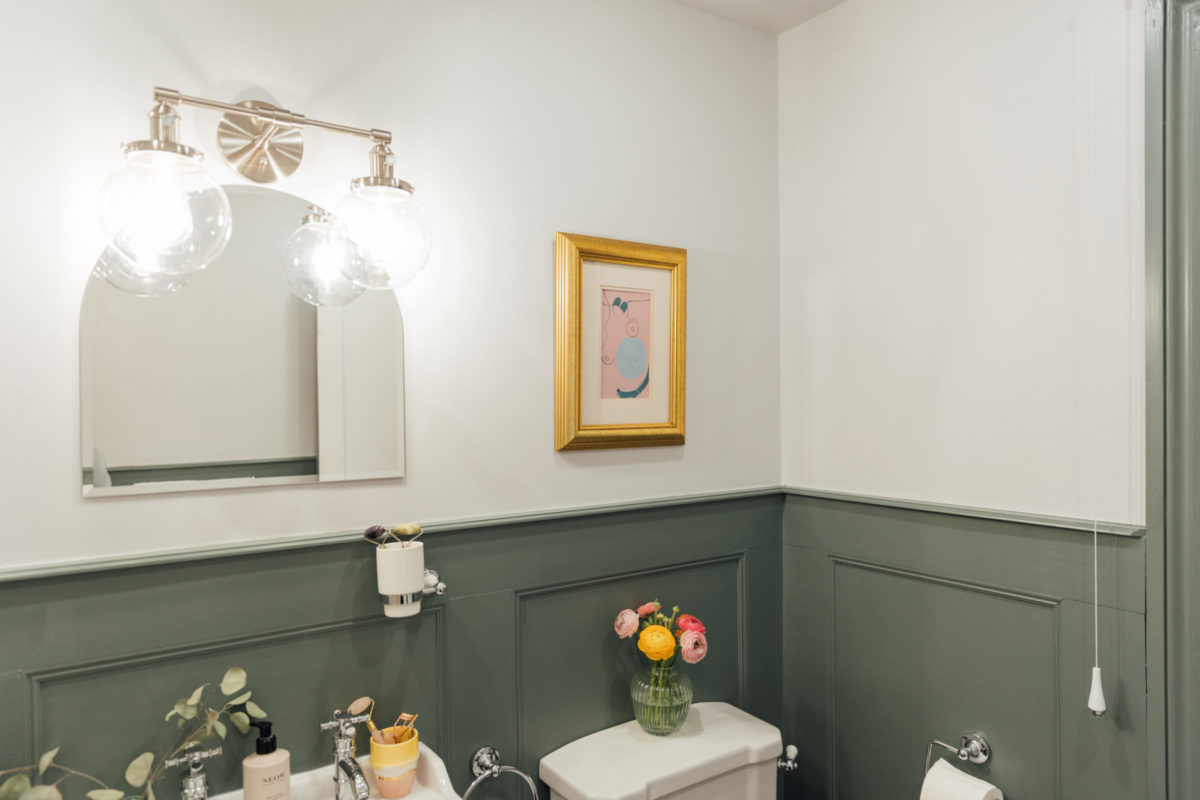
I found finding bathroom lighting we liked, and which worked in both rooms, sooo hard. We were limited by the fact that we needed to find light fixtures which ‘switched on’ on the fixture, as opposed to at the wall, due to the wiring in the bathrooms. Going for a light-up bathroom mirror would have solved the problem easily, but we wanted to go for something with more of a vintage feel. Ultimately we chose the ‘Voyager Bathroom Light’ from Dunelm for the shower room, and the ‘Phansthy Vintage Wall Light’ from Amazon for the en suite. I’m so happy with them both!
The mirror in the shower room is from Dunelm, and the one in the en suite is from B&Q.
Artwork + Accessories
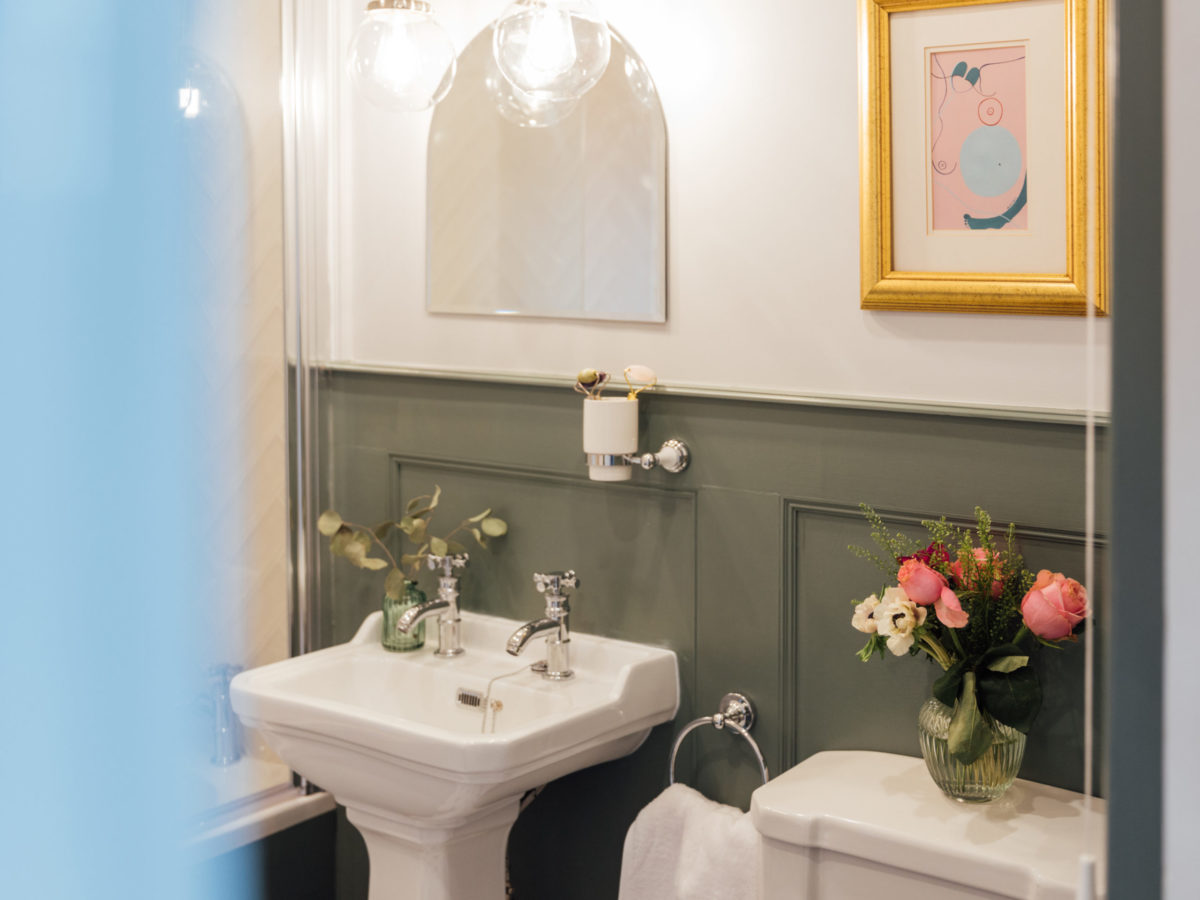
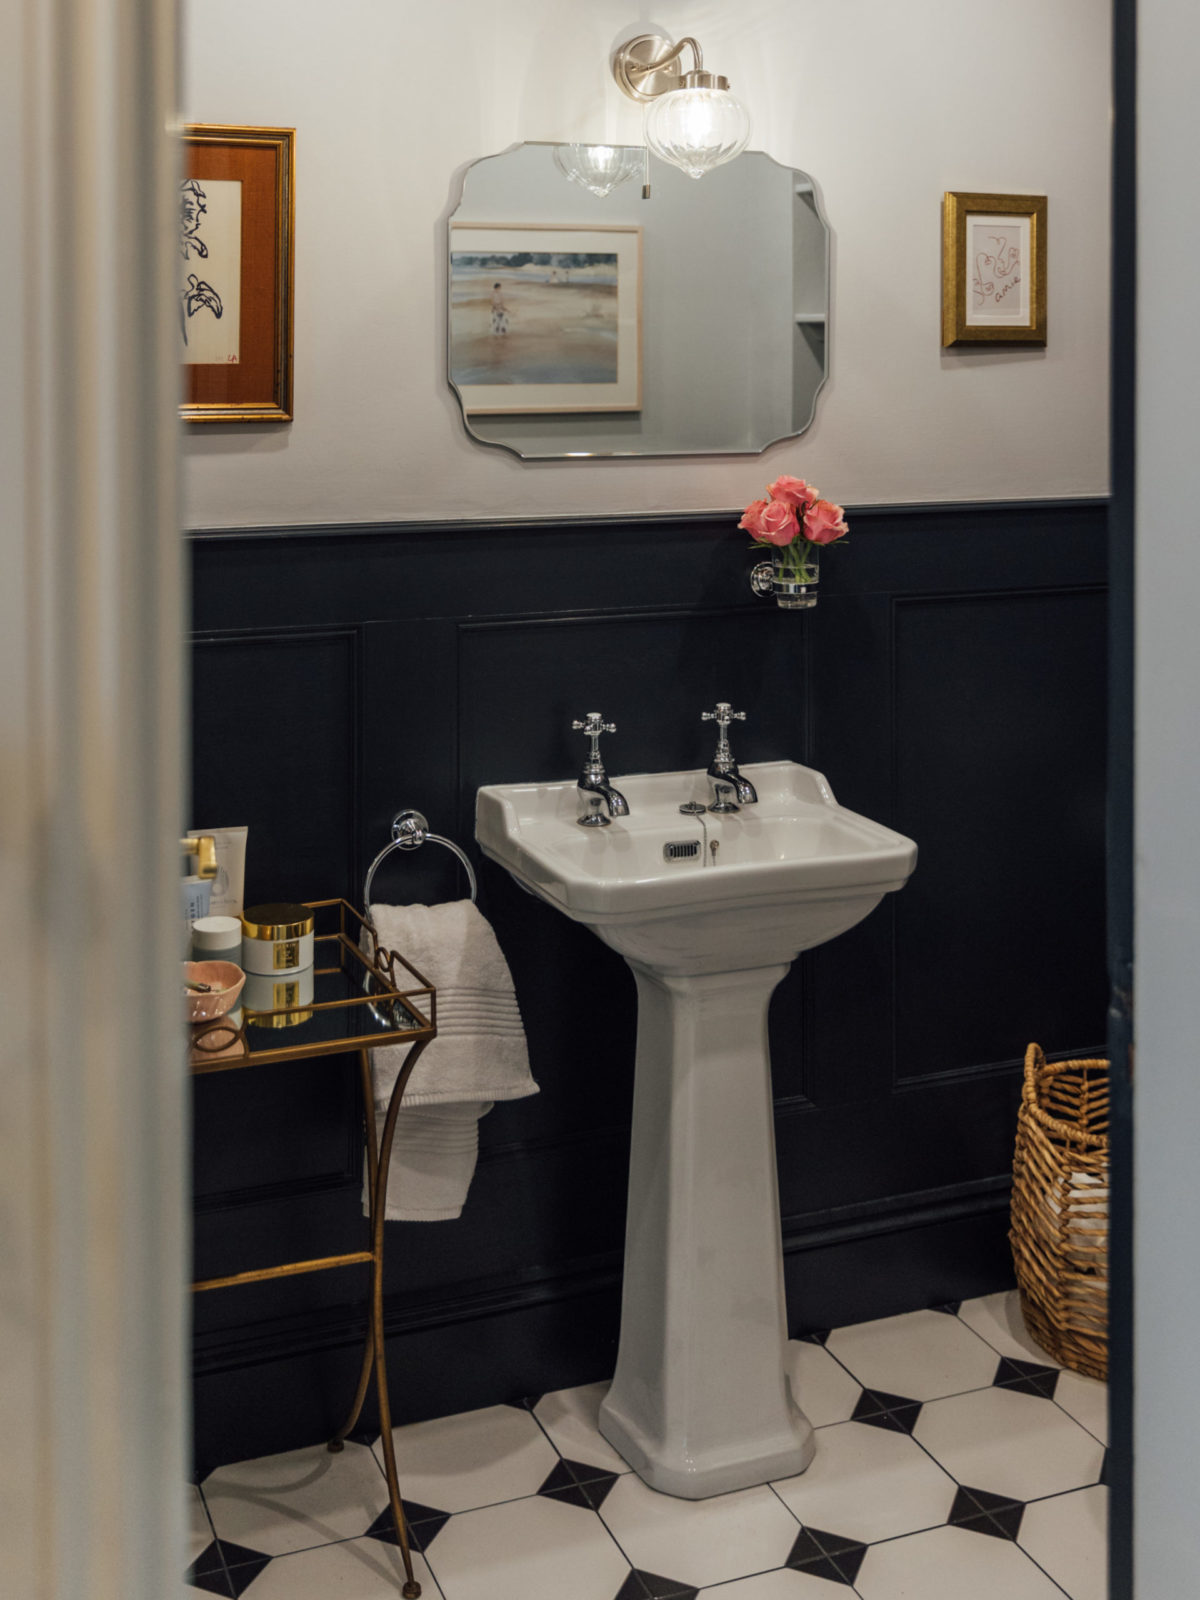
Artwork and accessories really helped to lift the bathrooms and give them more personality.
We went for a mix of art pieces we already had, and framed them using vintage frames. This is one of my favourite tips! Fancy frames can be expensive, but I’ve found so many gorgeous ones in charity shops and at carboot sales! Just swap the artwork for something you love, if what’s already framed isn’t your vibe.
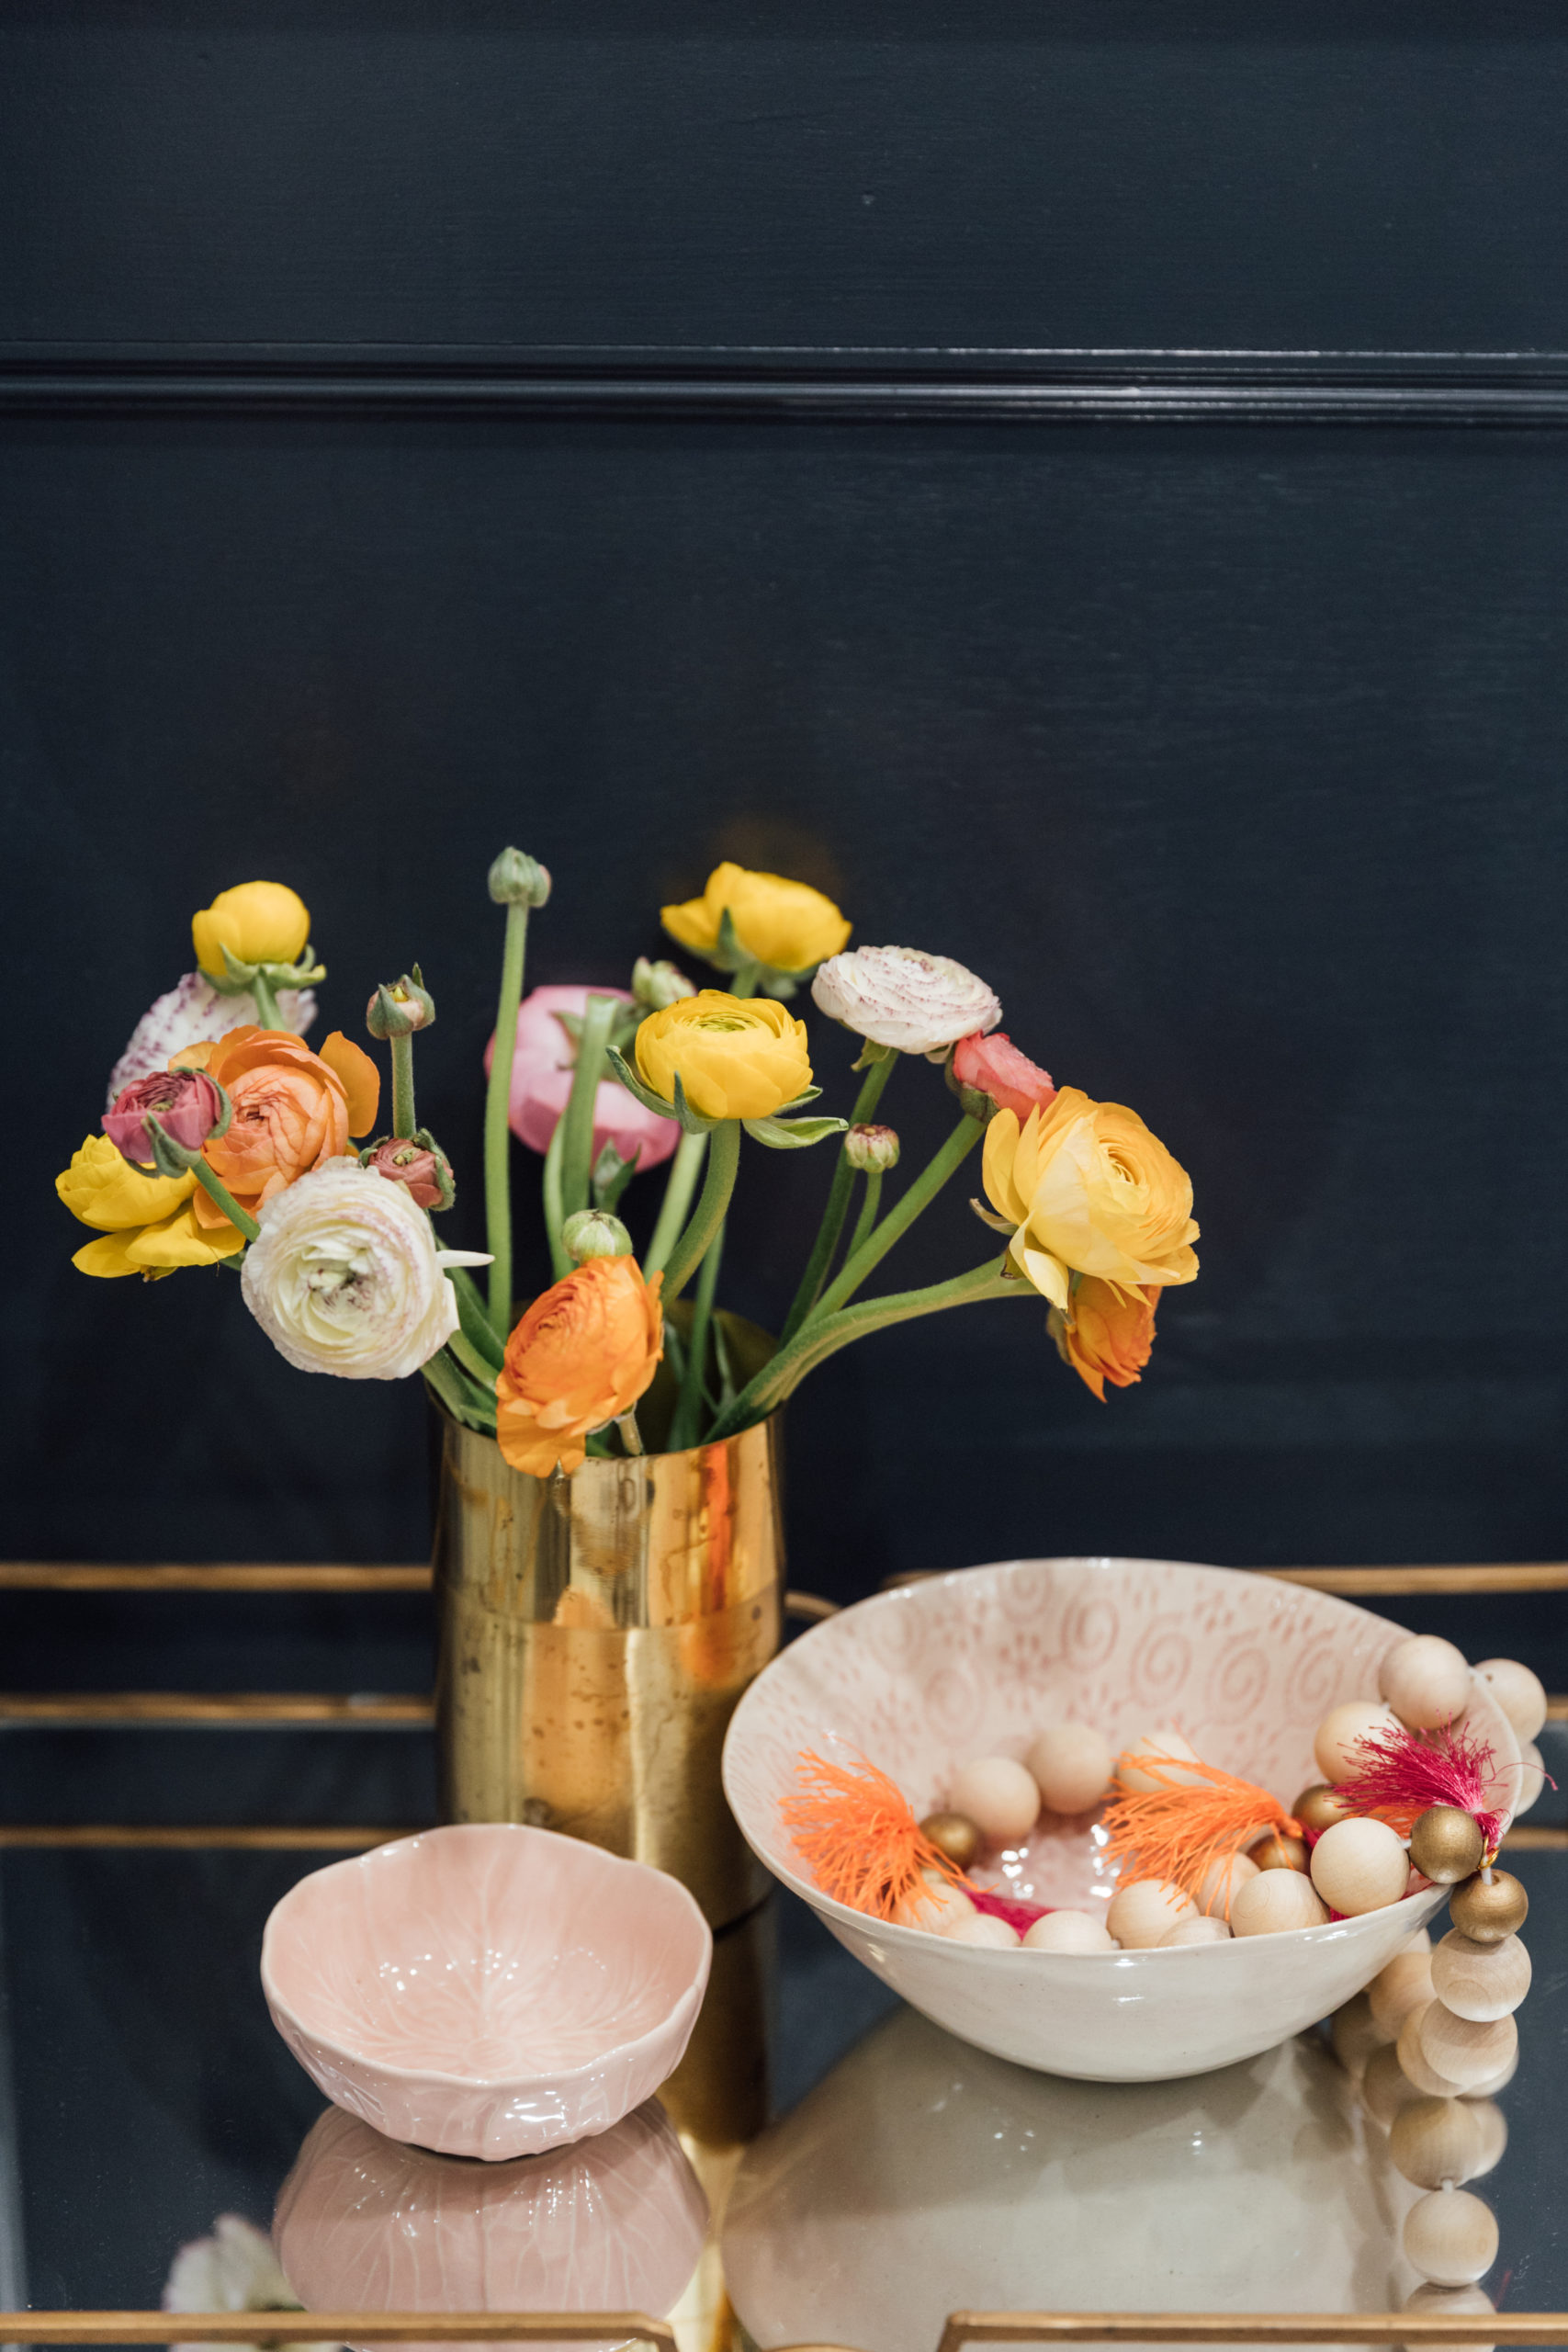
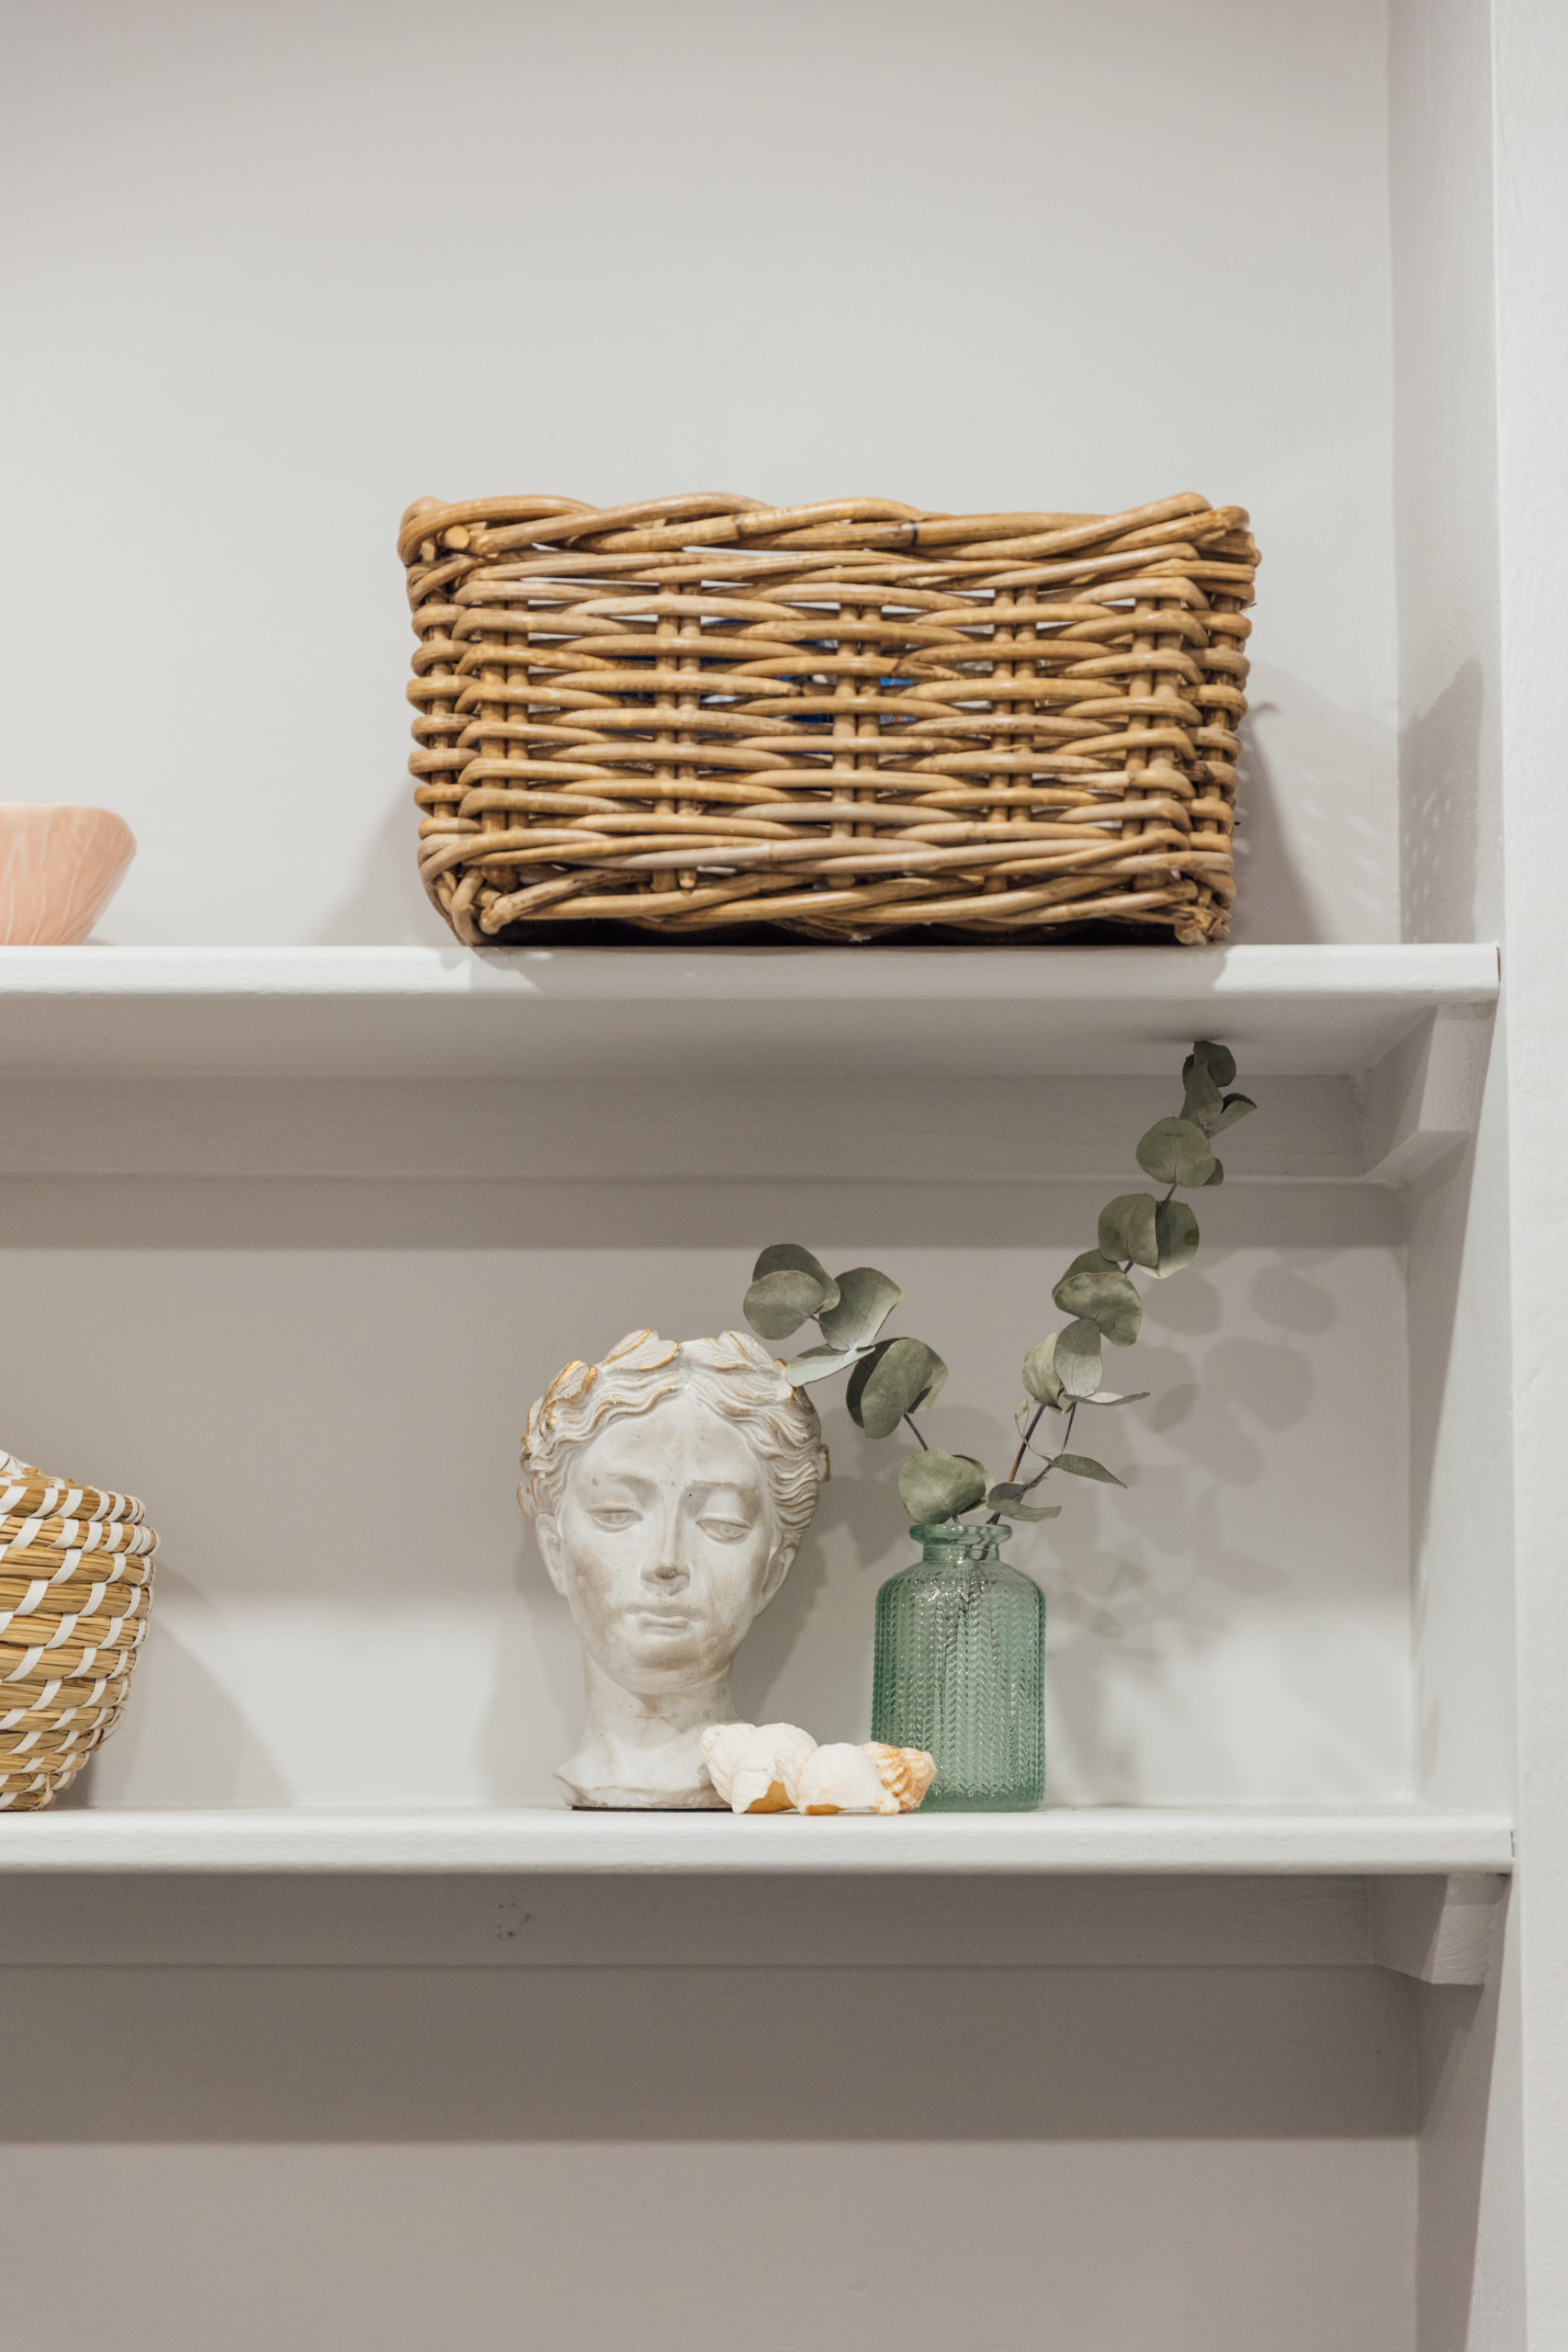
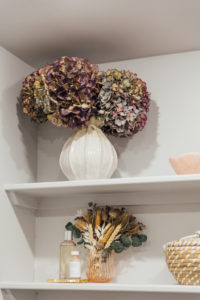
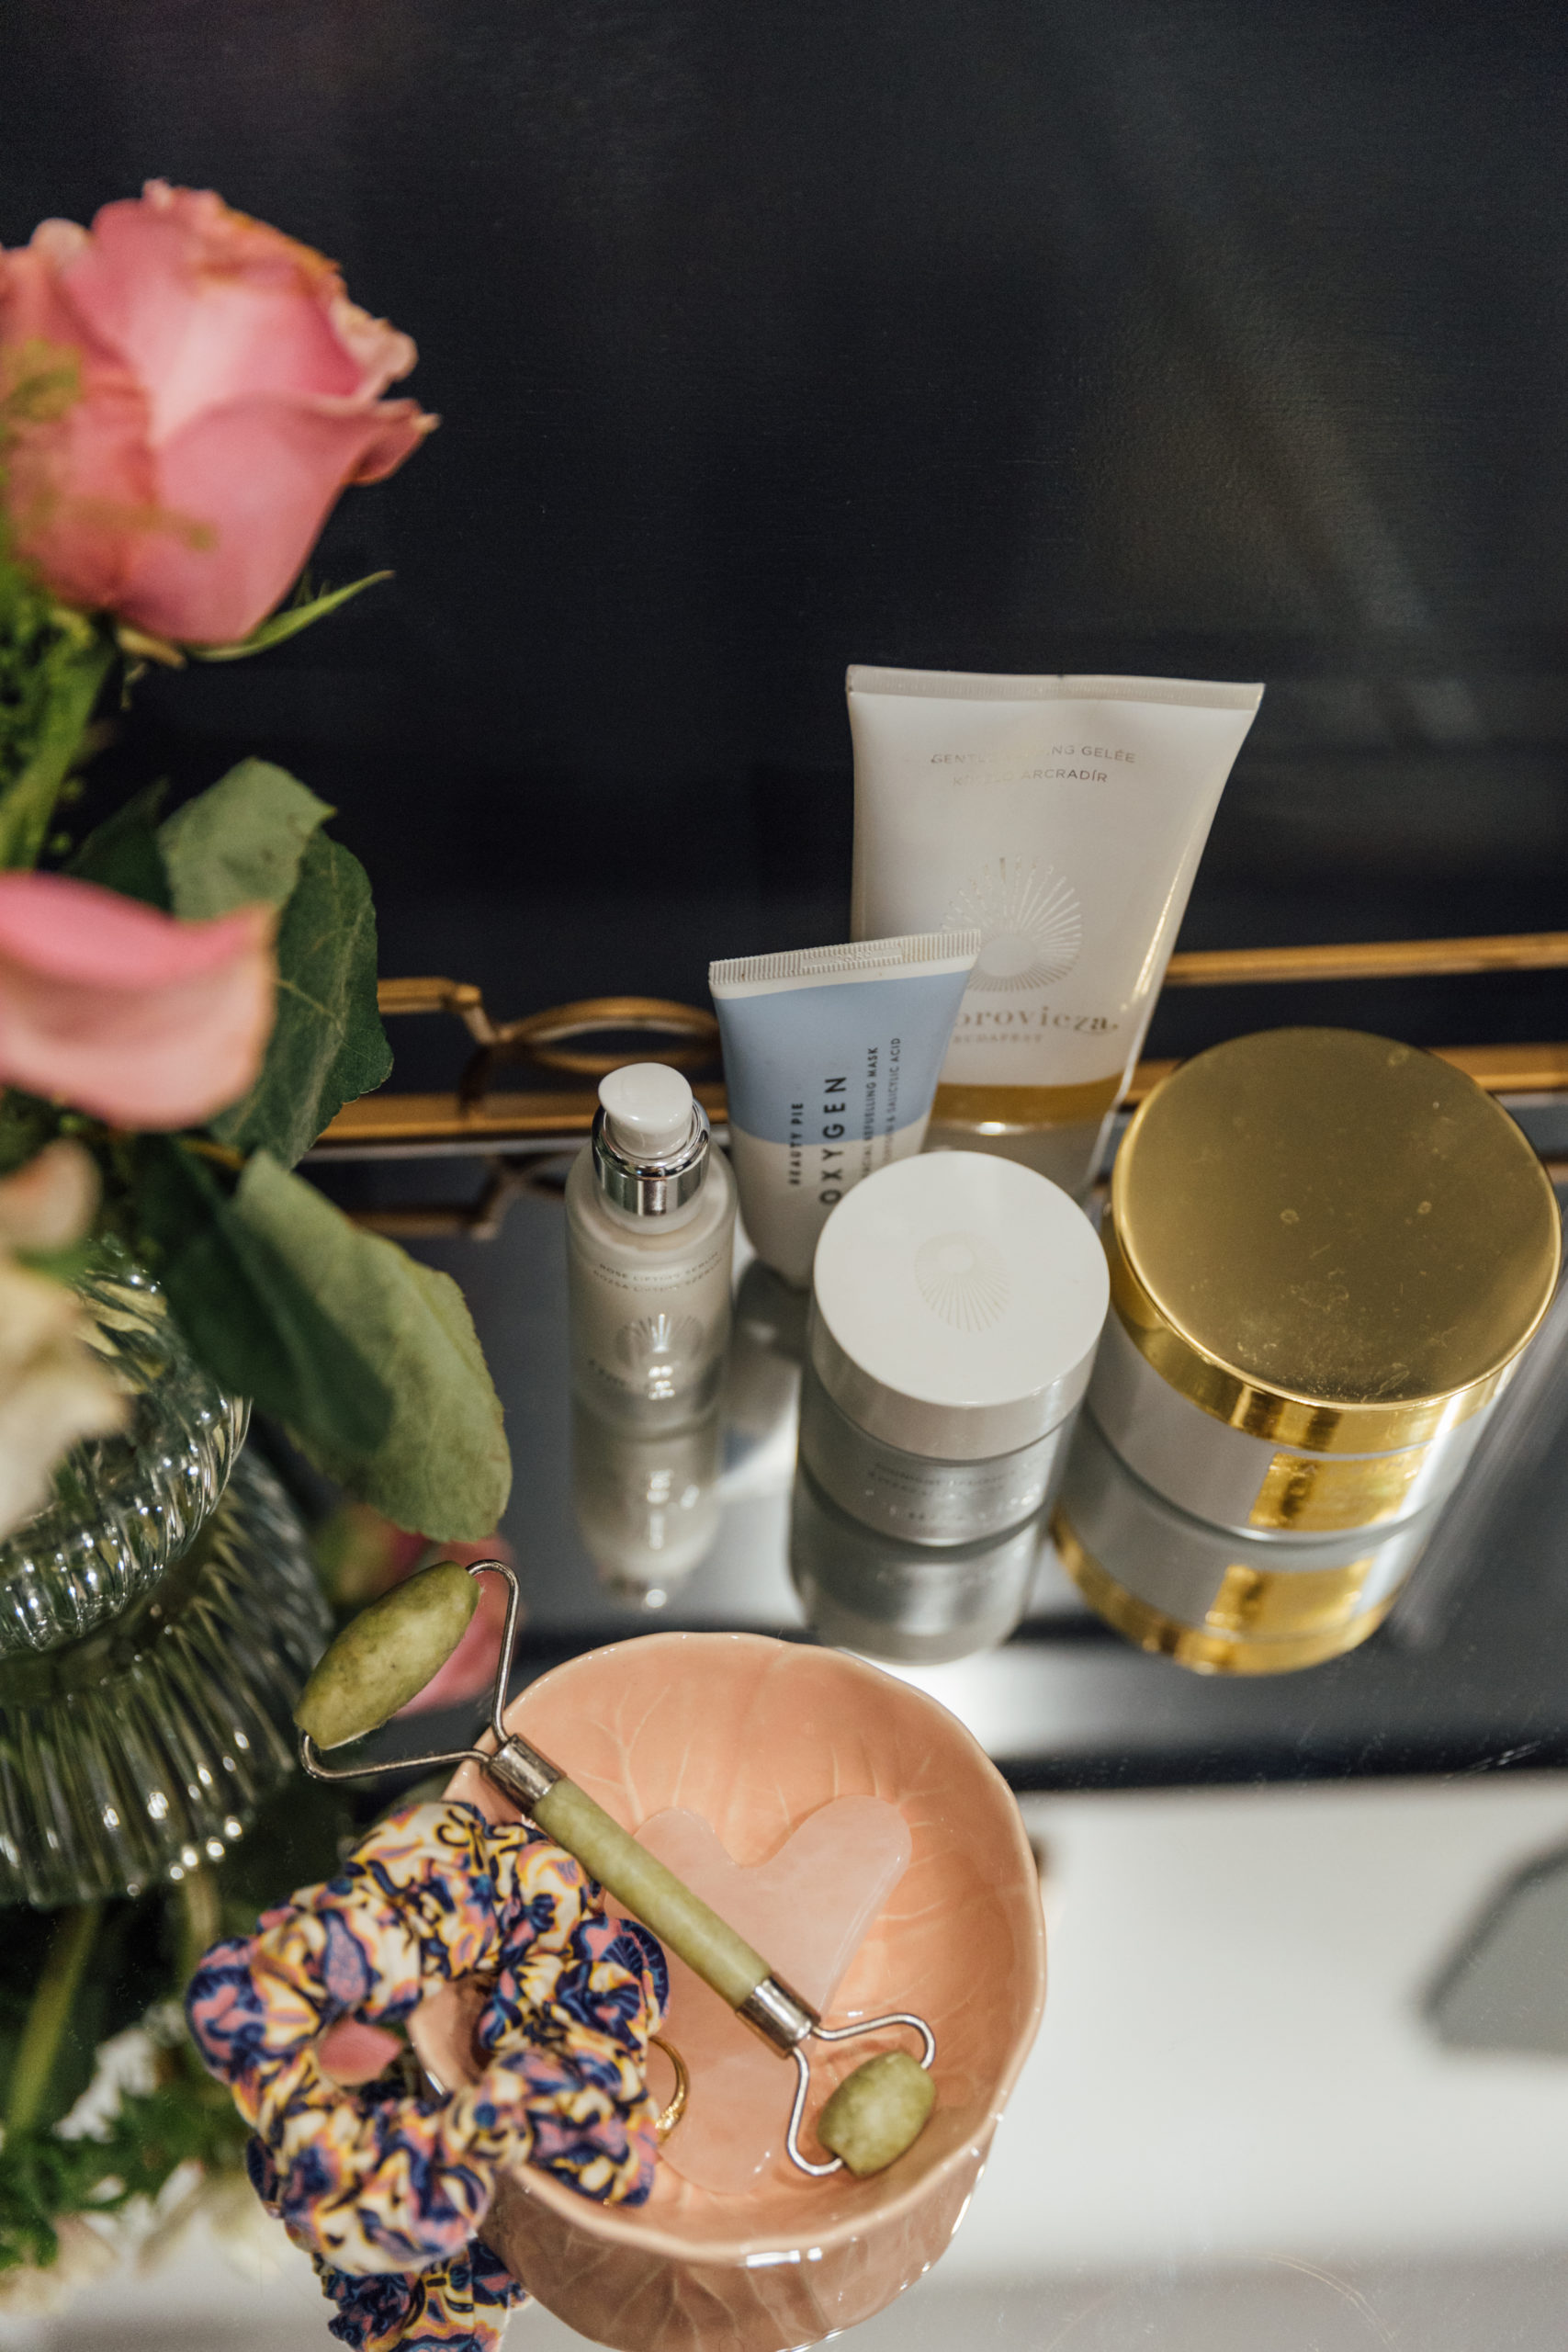
In terms of additional accessories, we added woven baskets for toilet roll storage, trinkets and small vases of fresh and dried flowers. Essentially I carried through a lot of the same styling elements we have in other rooms, to further the harmony between spaces. If you’re interested in reading more on this topic, I shared how I create a cohesive aesthetic throughout my home in this blog post.
Final Notes On Our Bathroom Renovations
I am SO happy we chose to upgrade our bathrooms! This was the largest renovation project we’ve undertaken, and overall I feel like it went really well. Undoubtedly it was inconvenient to live without somewhere to bathe for a few weeks, but we made it work. And now when I take a long soak in the bath, it feels VERY worth it!
On a separate note, you’ll see that we chose to use a lot of the same elements in both bathrooms. We did this to create a good flow between the rooms. And then used things like artwork, and wall paint to differentiate the spaces and give them their own personality.
Are You Planning A Room Renovation? Do You Have A Question? Comment?
I’d love to hear your thoughts! Drop me a line below!
Love, Monica x
Photography by Charlotte Bryer-Ash
Supplier List
Both Bathrooms
Bathroom suite: Easy Bathrooms Winchester
Floor tiles: Easy Bathrooms Winchester
Wall tiles: Easy Bathrooms Winchester
Paint: Farrow & Ball c/o
Bathroom accessories, inc. toilet roll holder, toothbrush holder: B&Q
Shower Room
Mirror: Dunelm, currently out of stock, the ‘Equatorial’ style is similar
Light: Voyager Bathroom Wall Light, from Dunelm
Artwork: vintage
Toilet roll basket: Homesense
En Suite
Mirror: B&Q
Light: ‘Phansthy Vintage Wall Light’ from Amazon
Artwork: vintage frame