Of all the things I love about blogging (and there are a lot!), conceptualising and styling a photoshoot is my favourite.
It’s the bit of my job I used to dream about doing when I was little. Albeit blogs didn’t even exist then – so it was more of a: “one day when I work at Vogue” situation!
Today I’m so excited to take you behind the scenes of pulling together a photoshoot for the blog! I’m sharing some of the most important elements I focus on to ensure a successful day.
I’m thrilled to be sharing these tips with you, in collaboration with Philips and the new Steam&Go Plus Handheld Garment Steamer. One thing that helps a shoot to go smoothly everytime, is having well-prepared, perfectly cared-for clothing.
Without further delay, here are my top tips for conceptualising and seeing through a great photoshoot . . . !
HOW I PREPARE FOR A BLOG SHOOT
– MY TIPS & TRICKS
1 – Create A Mood Board
It may seem old school, but one of my favourite parts about conceptualising a shoot is the mood board!
I pull together images to help me visualise the overall creative direction.
Photography inspiration, poses, locations, colour schemes . . . it’s all here!
Not only does the mood board help me to location scout, and select my outfits, it also helps me to communicate my vision for the shoot to whoever I’m working with on the photography.
I get so excited sharing the vision ahead of the shoot! It’s always so fun to get feedback from Oli or Charlotte.
Here’s a peek at the mood board I created for the shoot I’m sharing with you today:
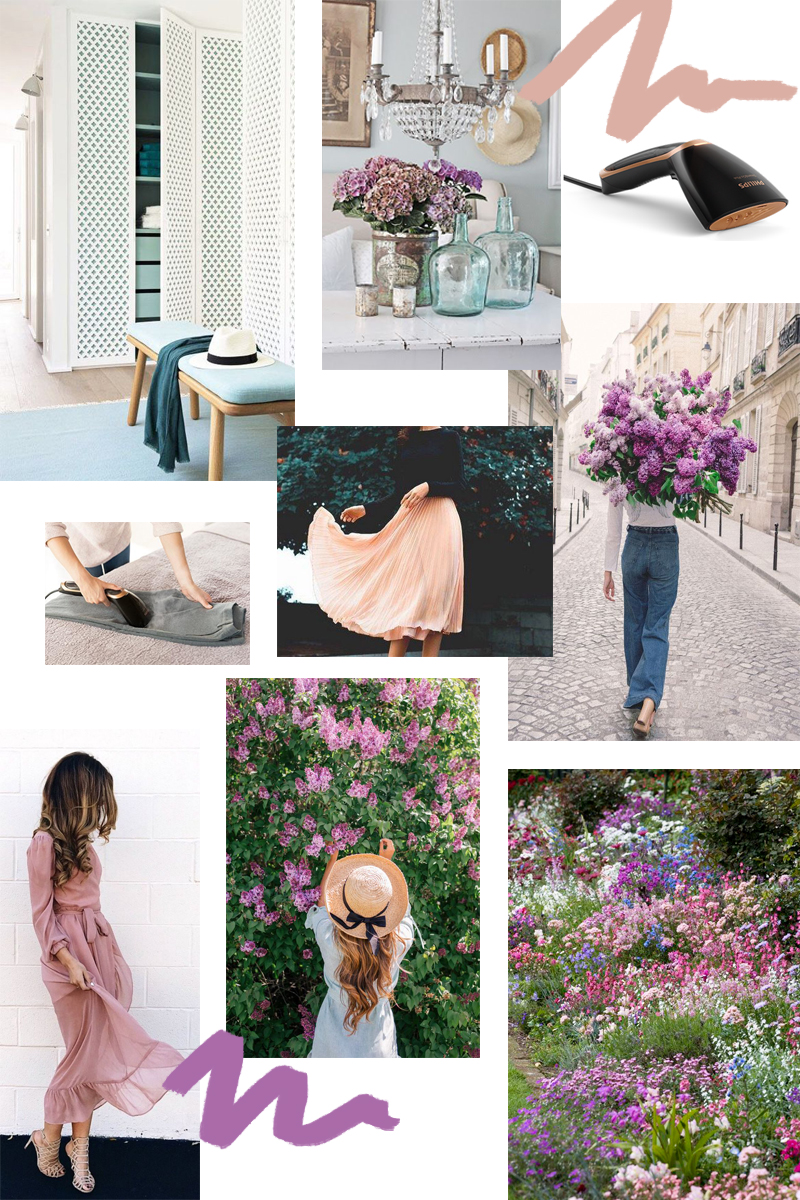
Mood board images: sourced via Pinterest
2 – Have A Shot List
There are so many things I’ve learnt through trial and error with blogging, and creating a shot list is one of them. It’s a life saver!
A shot list is, as the name suggests, a list of shots you want to get during your shoot.
Drawing this up will ensure that you get all of the photographs you need, so that you don’t have that ‘face palm’ moment of: “eek! I meant to get that shot!”.It’s SO frustrating when you forget something!
So, for example, for this blog post I wanted to capture shots of . . .
-
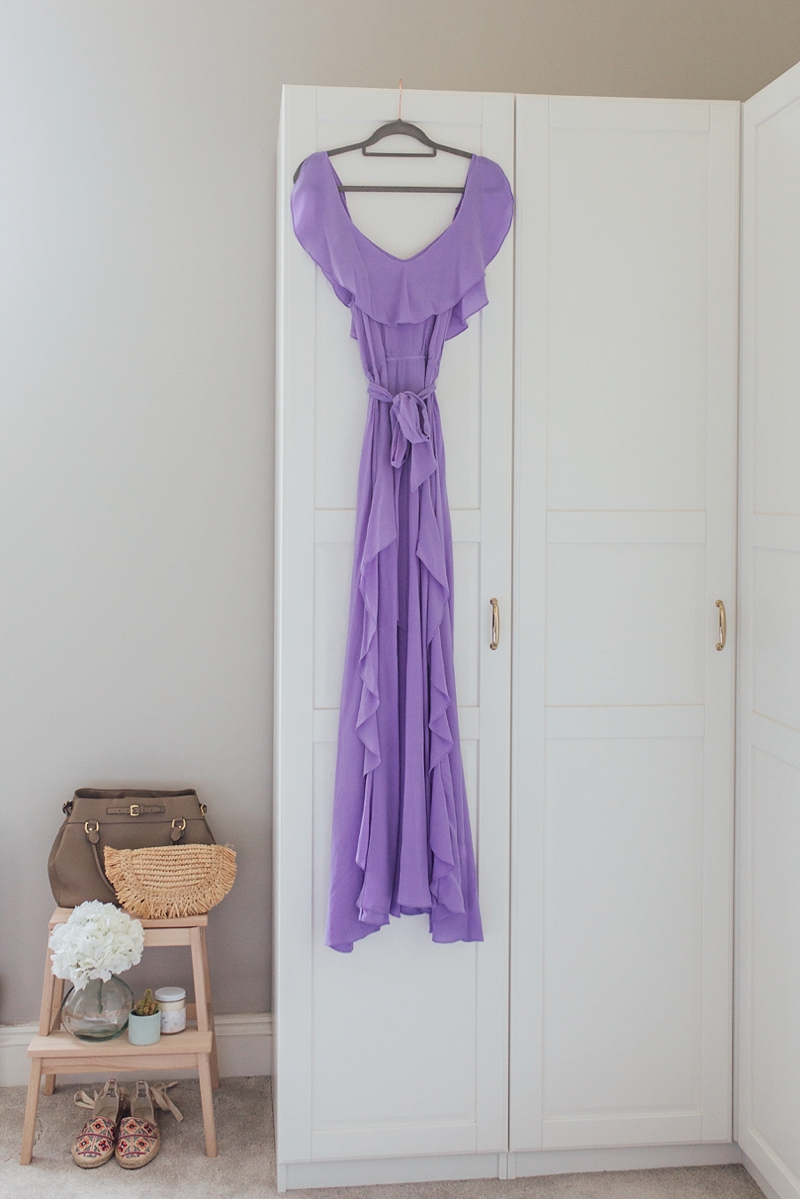
The purple dress hanging pre-steaming.
-
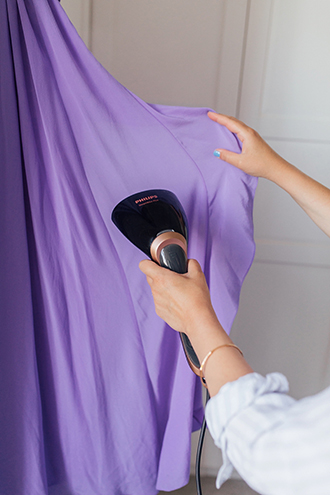
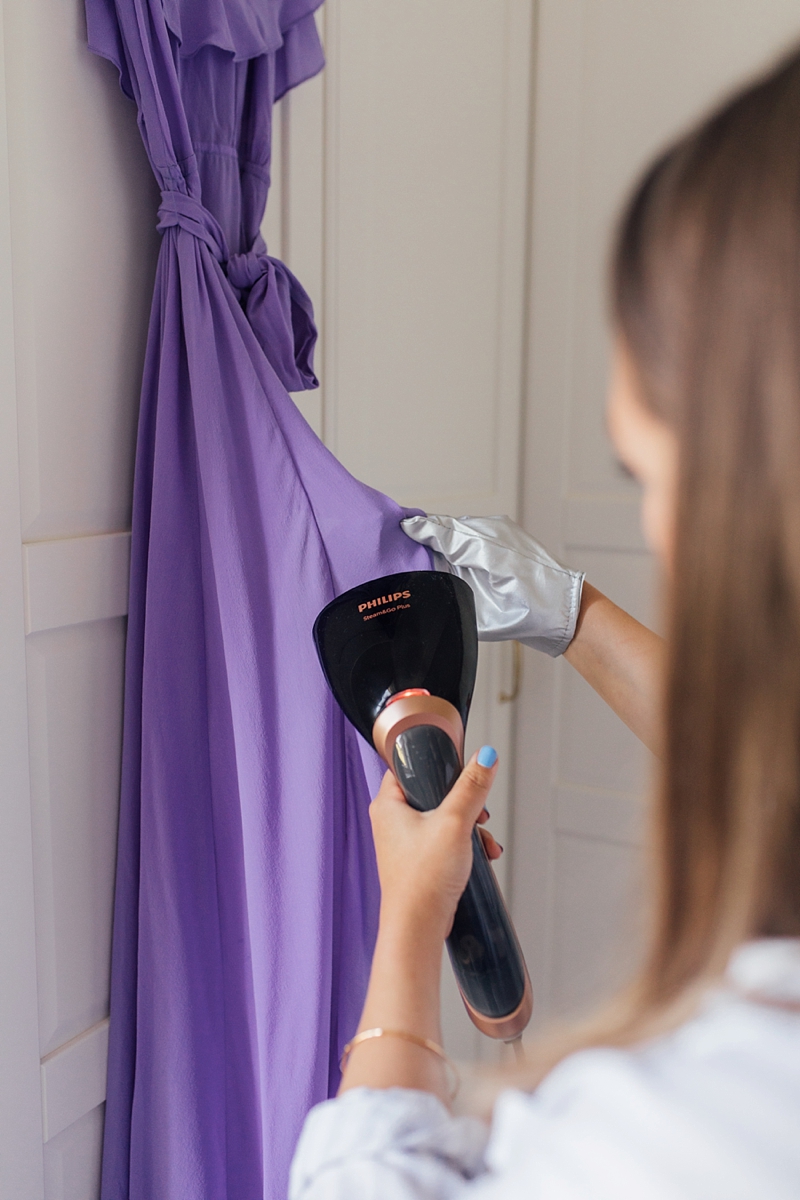
Me steaming the dress.
-
Close-ups of the steamer.
-
General shots of the bedroom.
-
Details of me steaming the dress.
-
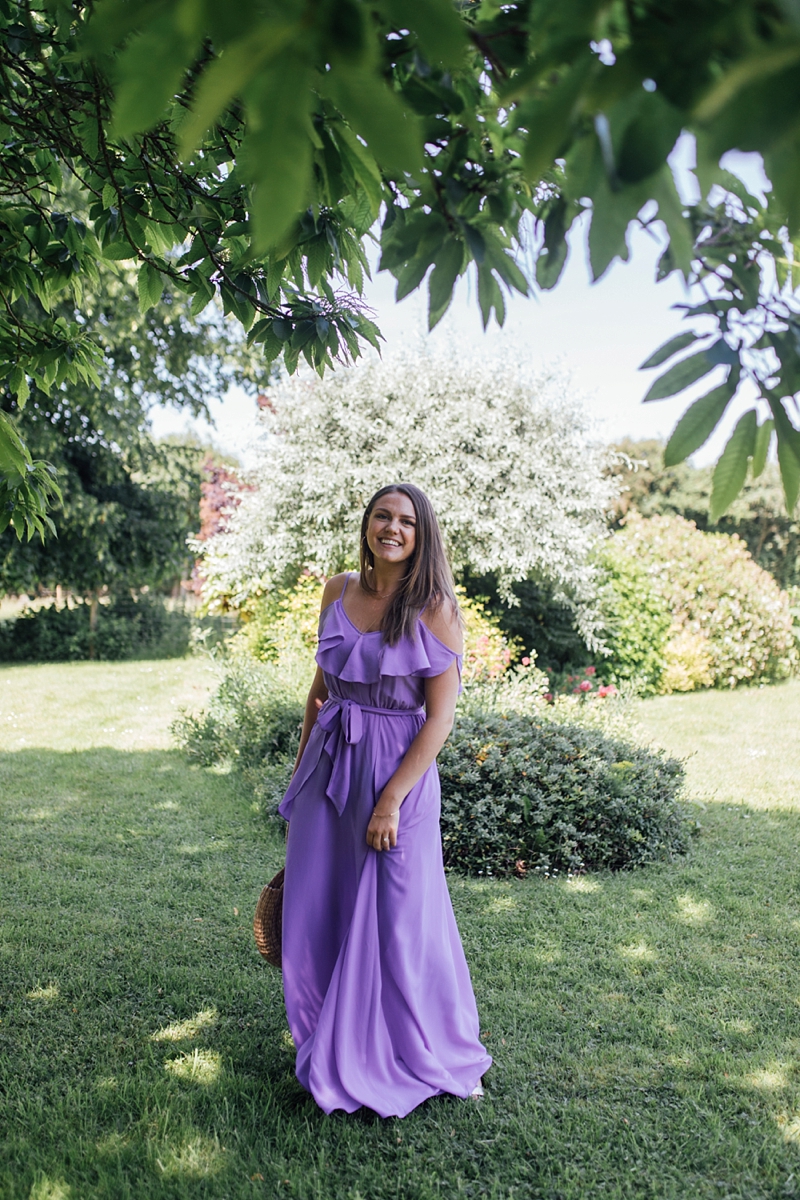
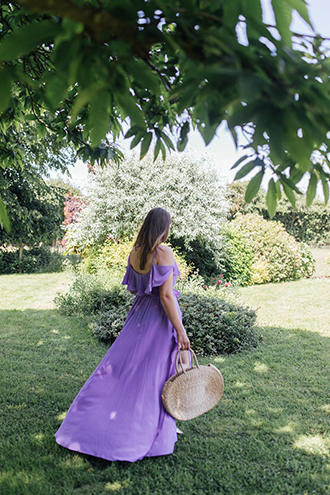
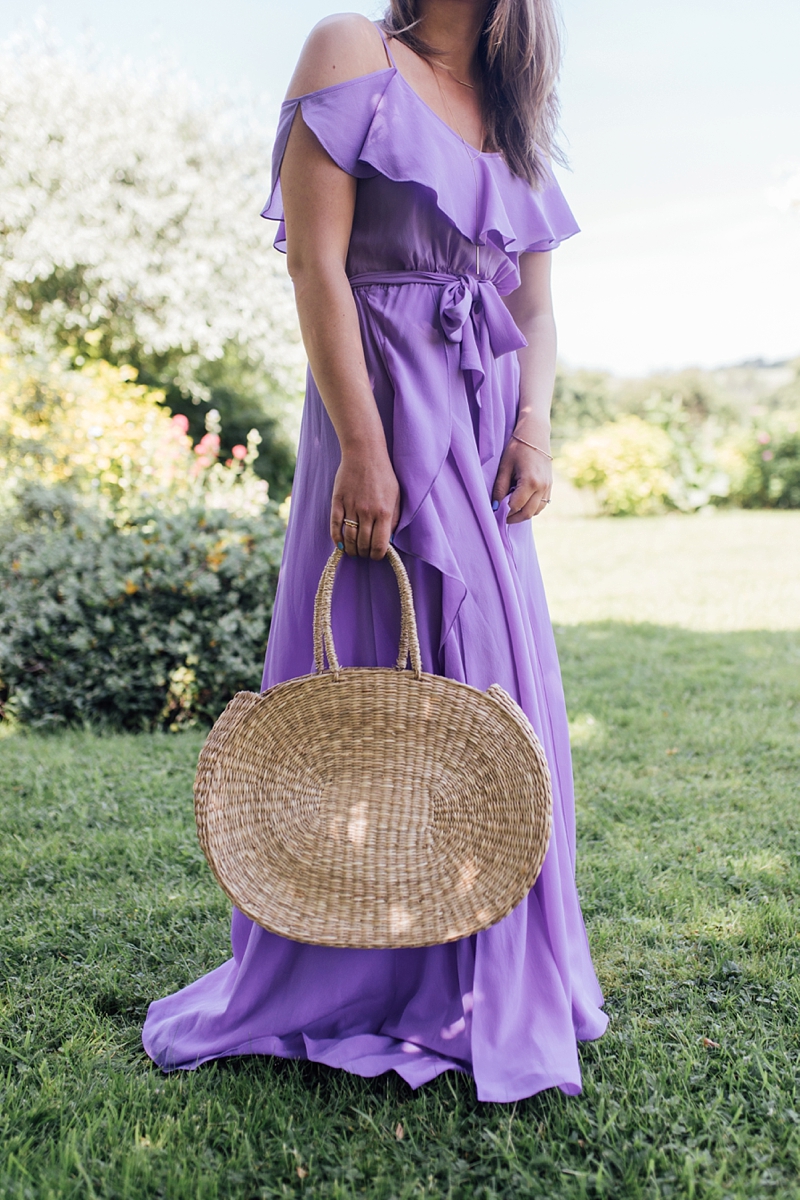
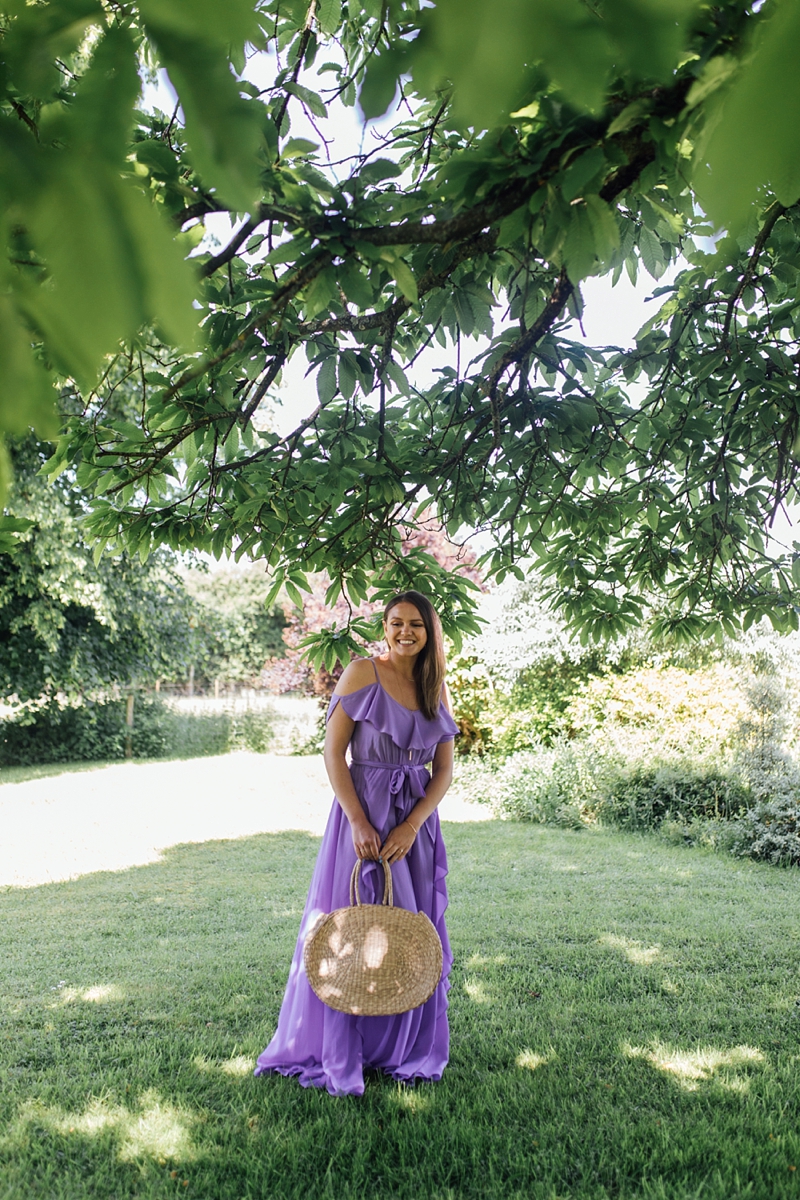
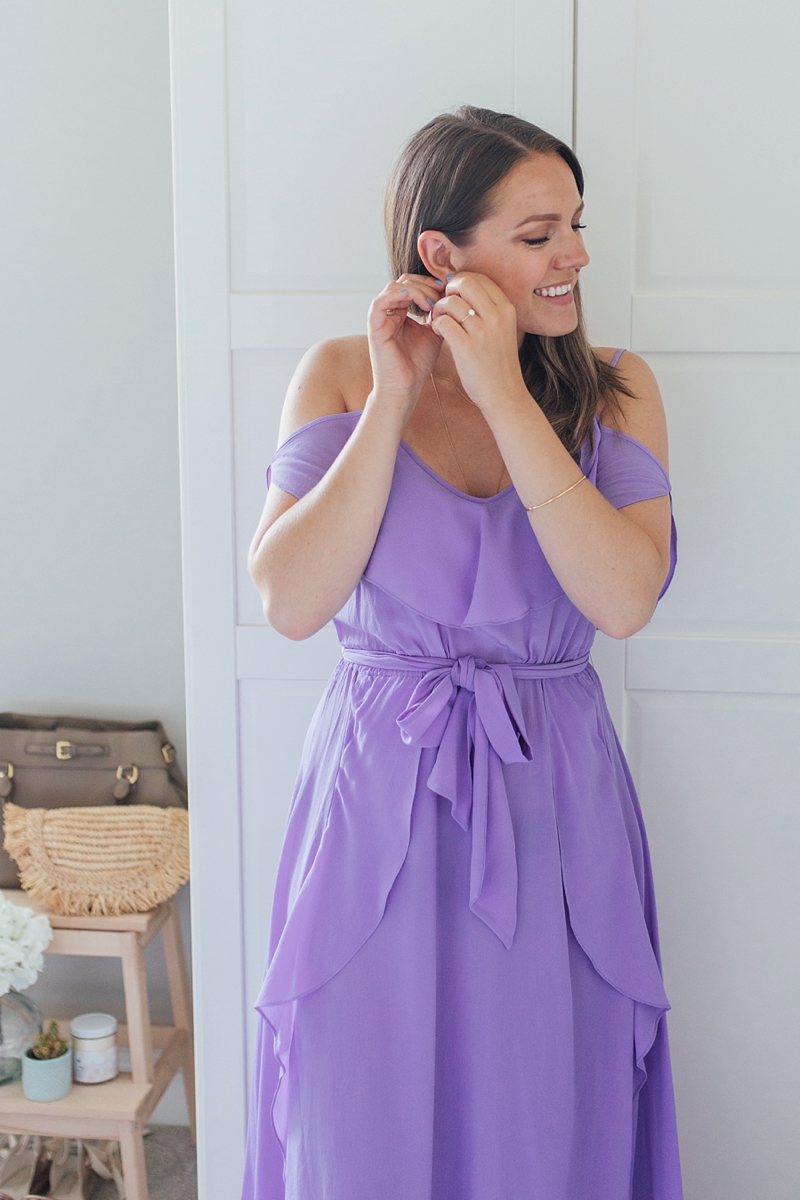
Photos of me in the dress, once steamed, in the garden.
This list corresponds to all of the photos I’m sharing with you here. It works a treat!
It’s also super helpful to share a shot list with your photographer ahead of time so that they can be prepared to capture the content you need. This is particularly relevant if you need photographs taken which require a certain lens.
Next time you organise a photoshoot, make sure you have a shot list drawn up. It’s a game changer!
3 – Steam All Clothing
Back when I was an intern in a variety of fashion-related roles, prepping clothing for shoots was my jam.
I took so much pride in steaming pieces to perfection ????????
I still love to see a pristine rail of clothing lined up ready to be captured. It’s the calm before the storm!
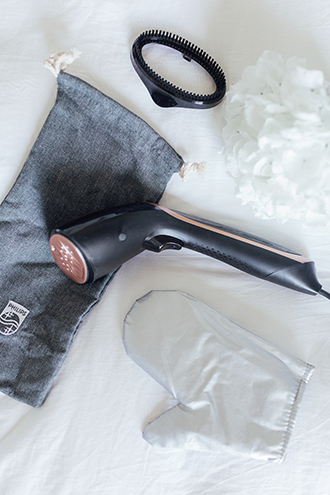
I’ve used so many steamers in the past, and the new Philips Steam&Go PlusHandheld Steamer is genuinely the easiest and most effective one I’ve come across.
Not only is it small enough to travel with, it’s also packs away neatly into a heat-proof sleeve. I like to tidy away all of my housekeeping things, and being so compact it’s a big space-saver.
Get 30% off(!!!) of your own Philips Steam&Go Handheld Garment Steamer using the code: STEAM3 (valid until 31st July 2018)
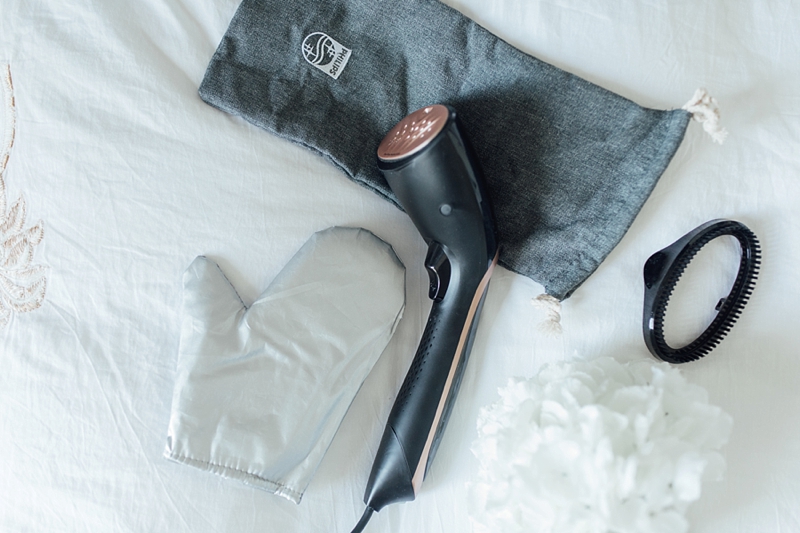
As for the actual steaming element, the Philips Steam&GoPlus heats up within 45 seconds(!), doesn’t drip and you can use it both vertically and horizontally. Plus, if you’re working on delicate areas like the frill of a dress, or collar of a shirt, you can use the heat-proof glove provided to pop your hand behind the fabric.
And if you have a clothing item you simply want to ‘refresh’, you can use the steamer to give it a new lease of life. It kills bacteria, as well as smoothing out wrinkles.
Meaning: you can easily re-wear a dress or shirt you would normally only get one use out of before washing.
The. Dream.
4 – Leave Plenty Of Time For Hair & Makeup
It’s so tempting, especially when I’m shooting at home, to spend just fiiiiiiiiivemore minutes at my laptop before a shoot. But inevitably those five minutes become fifteen, fifteen minutes becomes an hour and soon enough I’ve left myself barely any time for my hair and makeup.
Meaning: I’m not going to feel good in front of the camera.
To make sure the shoot has as much chance of success as possible, I allocate a good 90 minutes to hair and makeup. I rarely use all of that time, but I know I have it if I need it.
Those 90 minutes are also a good pause for me to collect my thoughts and run through the shot list in my head again.
Shoots days when I’ve felt happiest with my appearance (vain though that sounds!) are the days when I’ve been most satisfied with the end result. If you give yourself enough time to get ready, you’ll naturally feel more confident in front of the camera, and you won’t have a weird hair sticking out sideways – ha!
If you feel good in real life, it always comes across in the pictures.
The lesson? No rushing to get ready!
5 – Style The Location – Fully!
There’s a big difference between viewing a location in person, and seeing it in a photograph.
In person, I find that I have ‘selective vision’ – I never really notice things like gum stains on a pavement or a pillow askew in a room.
When I’m working on a blog photo though, my eye is immediately drawn to the things which are ‘off’.
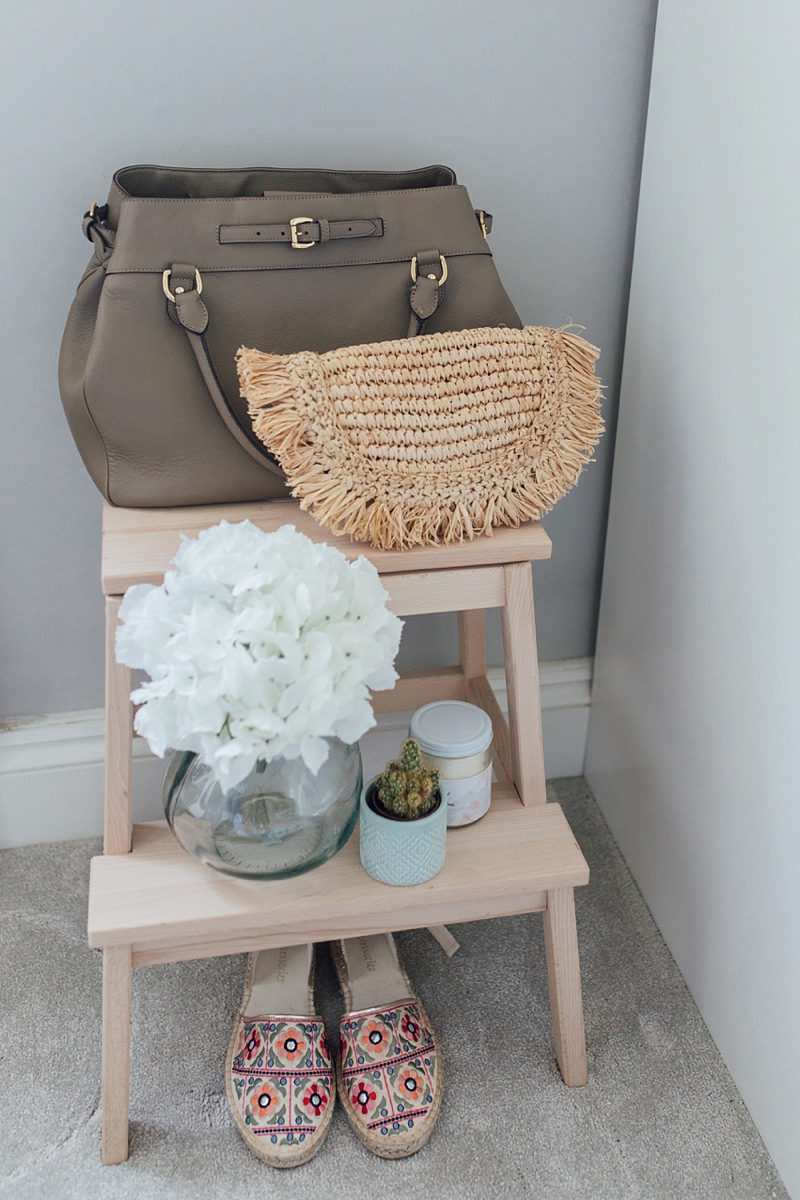
Because of this I’m extra cautious to view my shoot locations with ‘blogger glasses’ on. I take extra care to style up little nooks which might be caught in a shot.
This footstool (above) is a great example – it’s a random little area of my bedroom which I knew would inch into photographs. Therefore I took the opportunity to style it up in an attractive way.
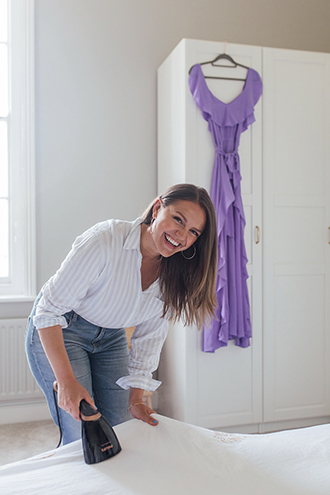
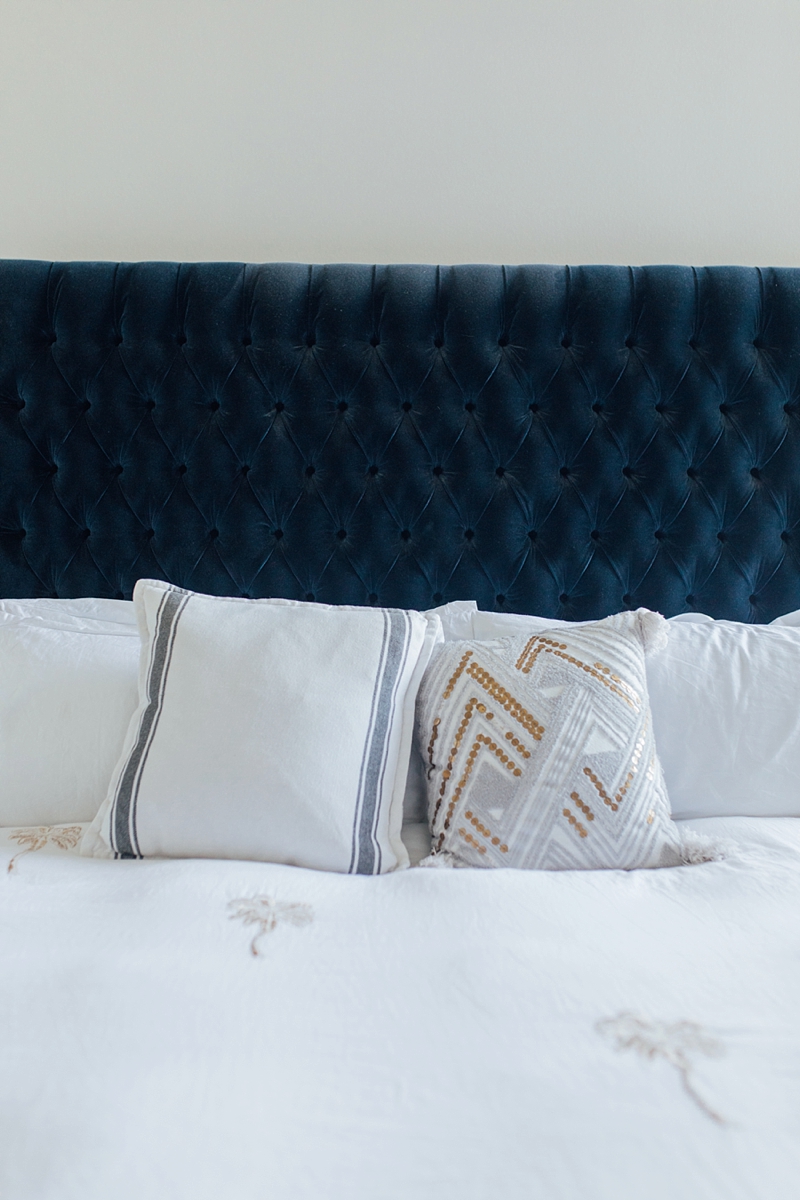
Making sure that linens and cushions look their best is also a big part of styling a space. And that’s where, again, the Philips Steam&Go Plus comes in SO handy.
Most of the time I don’t iron our sheets, but if I’m shooting in our bedroom I like to make the bed look as pretty as possible. Now I can easily steam our sheets ON the bed, without having to get the ironing board out each time.
Meaning I don’t have to spend forever ironing.
Remember – take notice of everything in the shot, and make sure it’s all styled up in a way you’d be happy to capture.
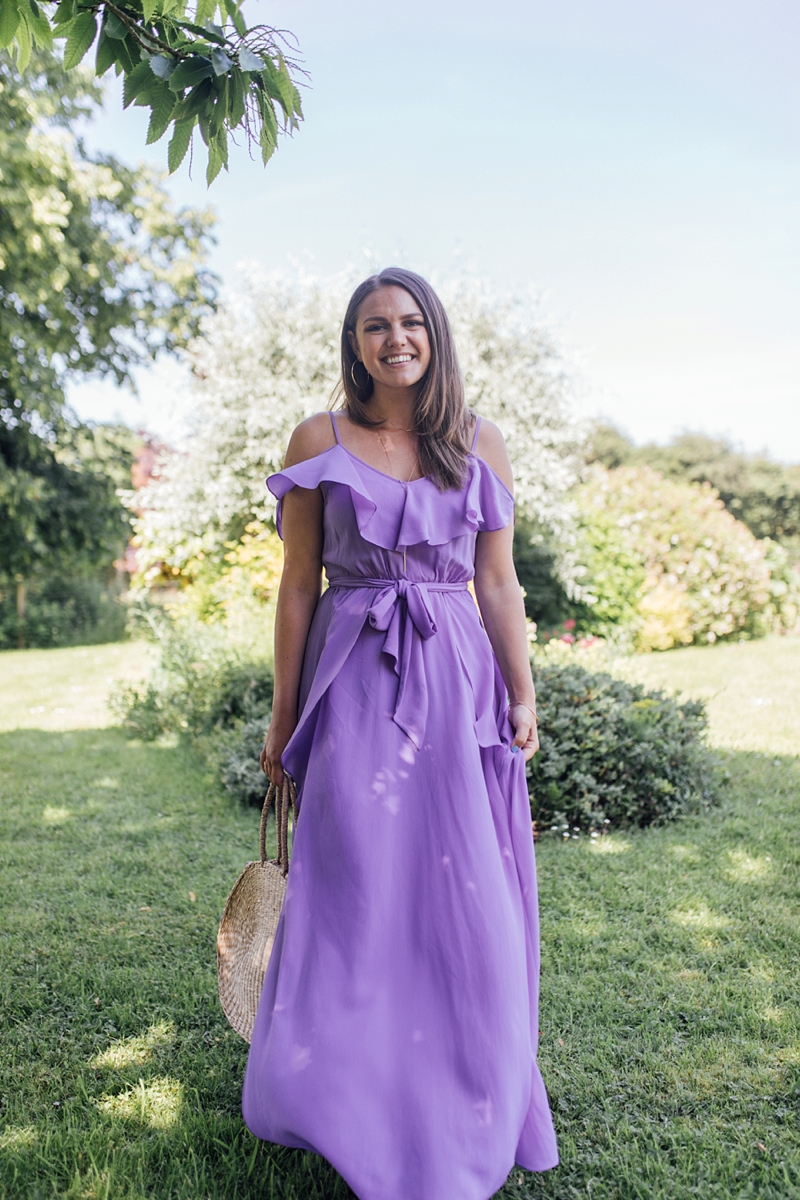
I’m Wearing
Dress: Lazul London c/o (shorter version) | Bag: Lisa Valentine Home
Hoops: Dinny Hall
OVERALL
Preparation is everything when it comes to ensuring a successful shoot.
It took me years to get the formula down (and I’m still learning!) but these are some of the most effective ways I’ve found of ensuring a great photoshoot for the blog.
WHAT’S YOUR TAKE?
Did you like coming behind the scenes with me on a shoot?!
Are you excited to explore the Philips Steam&Go Plus?
Don’t forget that you can get 30% off if using the code: STEAM3, until July 31st. Click here to purchase!
You’re going to love it!
Love, Monica x
* This post is created in partnership with Philips *
Photography by Charlotte Bryer-Ash